Category Archives: Specialized Diets

Recipes for those on restrictive, blenderized or pureed diets.

The Poopinator

The Poopinator was lovingly named for it’s ability to move “mountains” (insert laughter)! I had reached the end of my rope, tied a knot and was hanging on for dear life when the knot unraveled. Matthew’s KUB showed that he was backed up again and the GI wanted me to do another “clean out”.  Matthew does not suffer from constipation in the typical sense (hard stools).  He suffers from slow transit constipation and lack of sensation so he can’t feel when he has to go and I wanted him off Miralax. We had done it before (more times than I care to remember) but this time was particularly bad. Needless to say I (and I’m sure Matthew) had had enough so I reached out to my Facebook group, “Blenderized RN” for help. I got lots of suggestions for foods that work as laxatives. I tried several individually but they didn’t work. So I put on my mad scientists lab coat and glasses and went to work. And so The Poopinator was born!  No more Miralax!

Ingredients

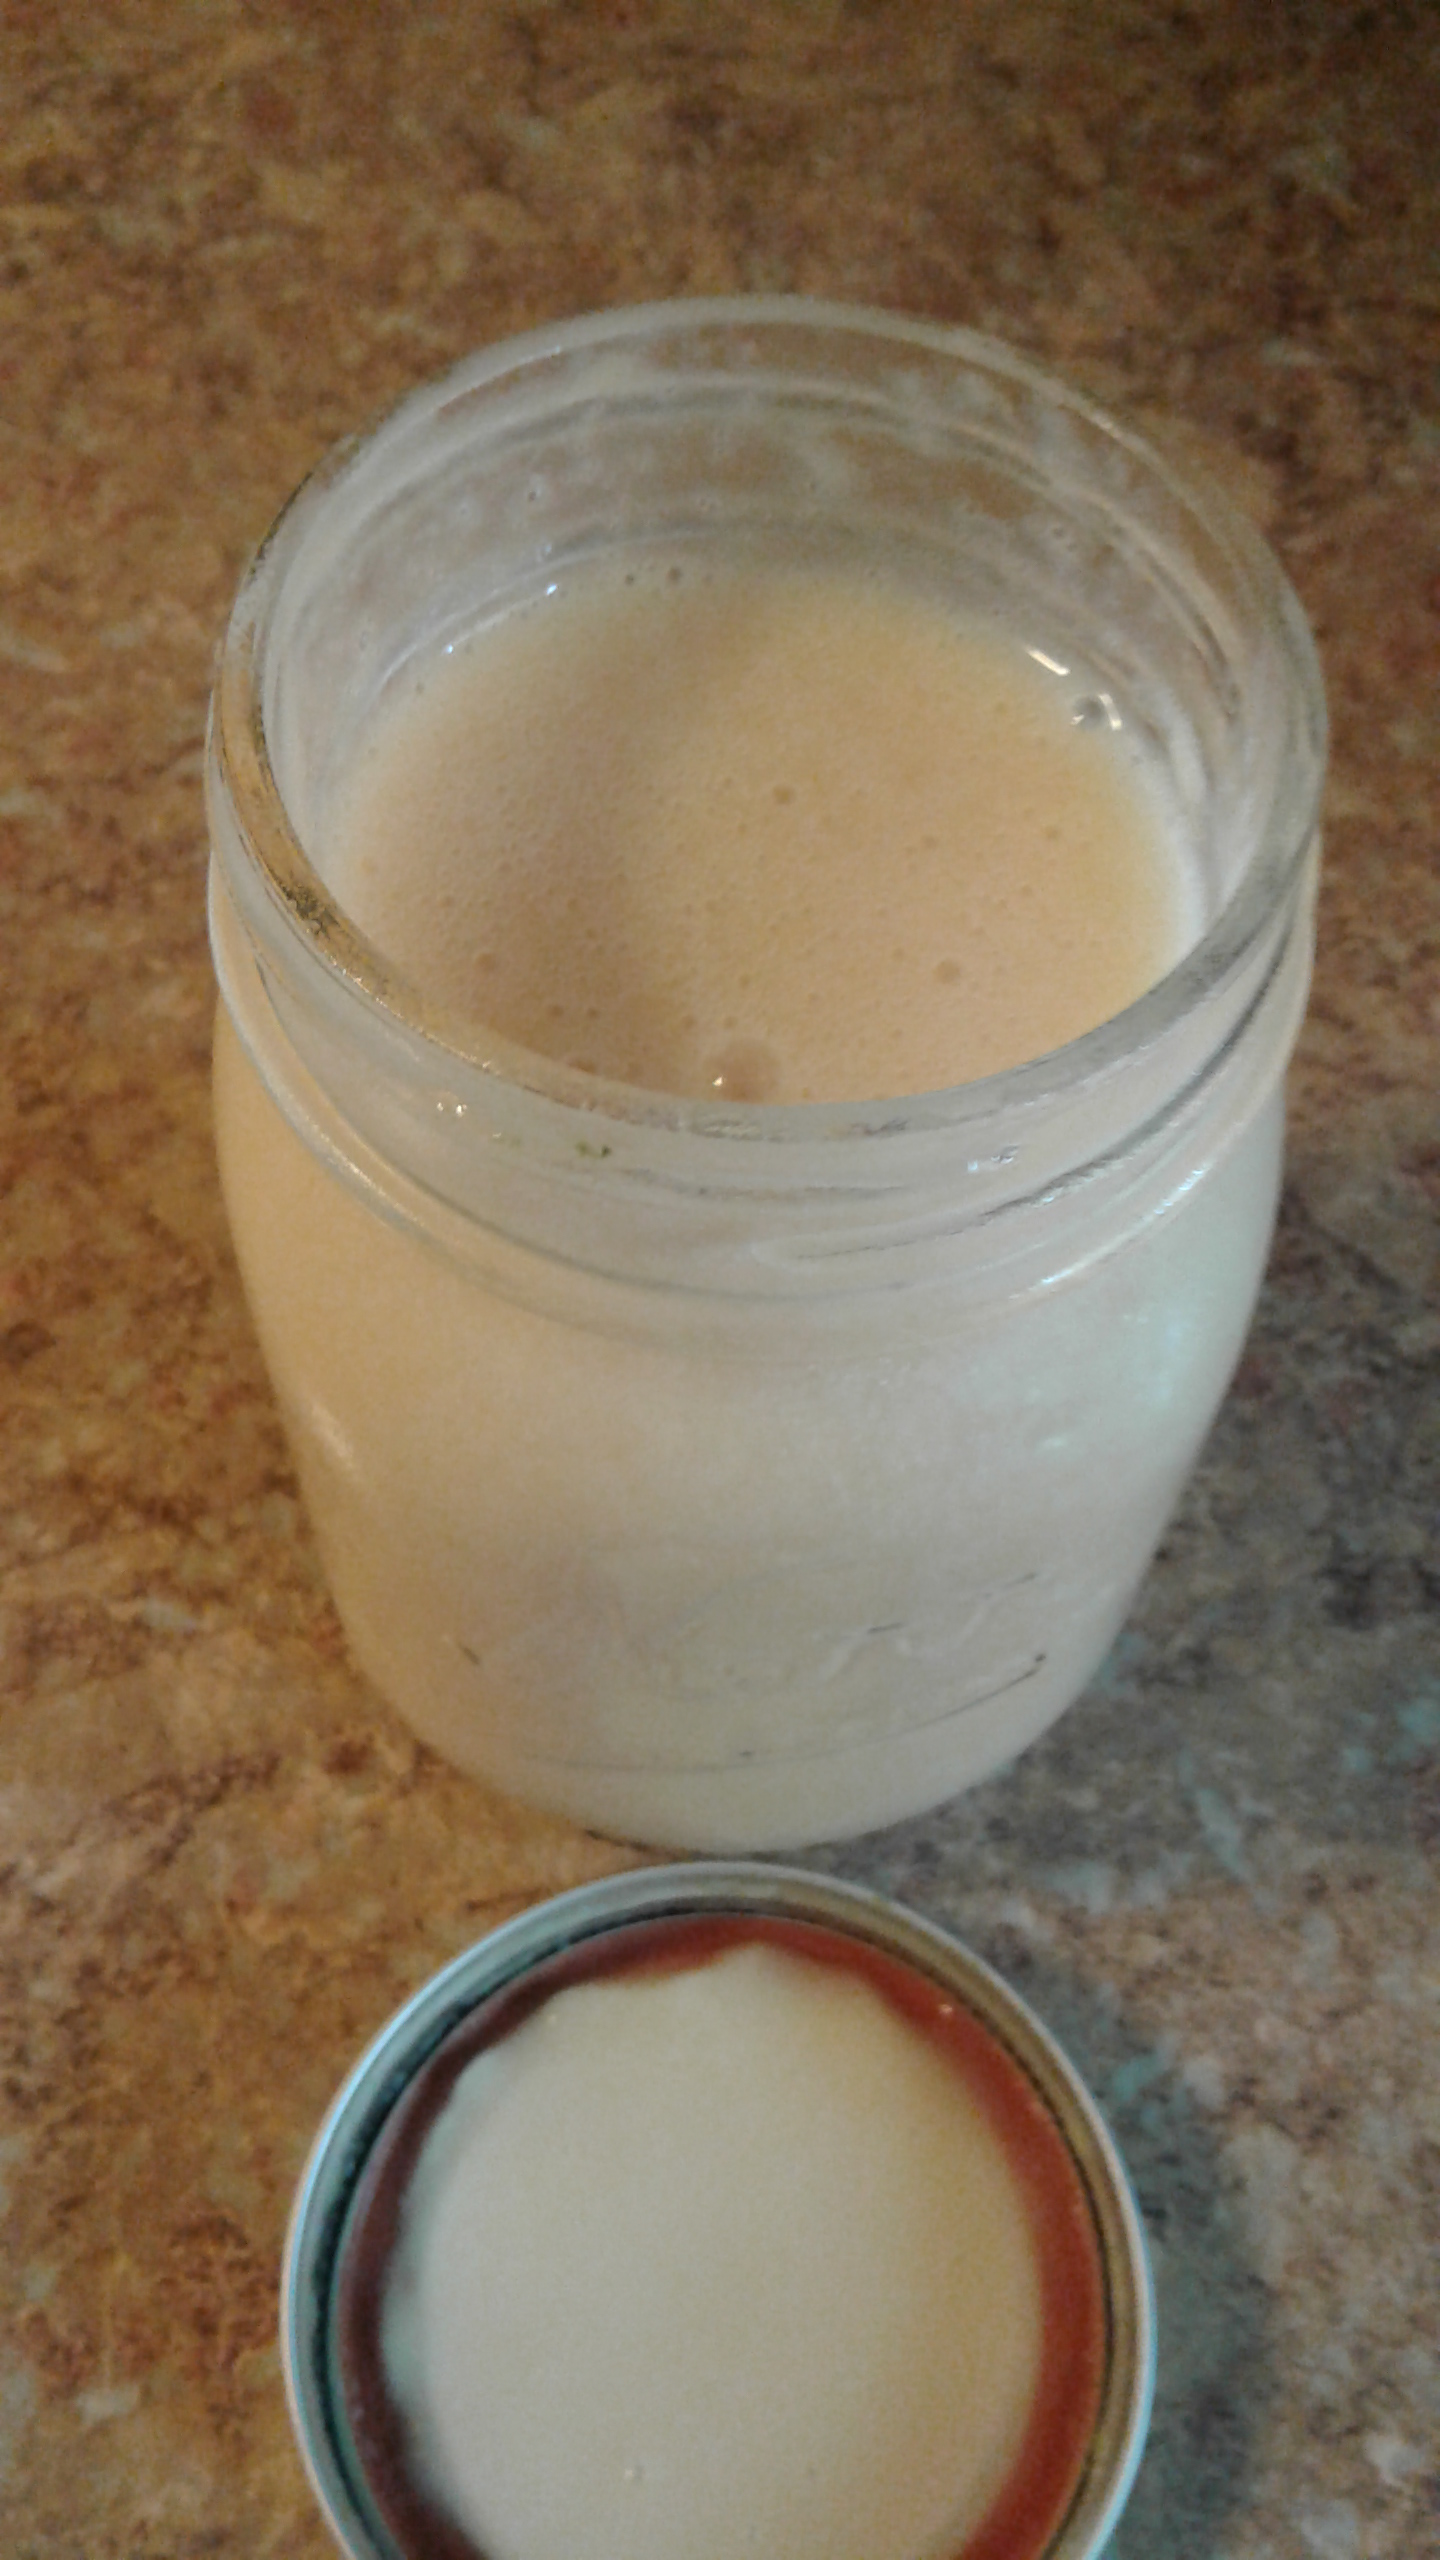
1 once pureed celery* 1 once pureed pumpkin 1 once pureed butternut squash 1 once pureed papaya

Directions

  1. Combine all ingredients in a bowl or small jar and stir.
  2. Using a 60cc syringe, draw up mixture making sure to expel any air bubbles.
  3. Give bolus at a rate that is comfortable for your child.  For example, Matthew does well if I give 20mls at a time and wait 5 minutes in between.
  4. Finish with a water flush.  Use whatever volume your child can handle.  I use 15ccs because Matt can handle it.

If 1 once of each item is too much volume, you can cut them in half. You can also start with only 1 item and see how it works before adding another.For convenience I blend the ingredients separately, freeze them in ice cube trays and store them in labeled and dated freezer bags. That way you use exactly as much of each ingredient without wasting any. Because he gets his bolus in the afternoon, I take out the cubes I want in the morning, put them in a small mason jar and let them defrost in the refrigerator. Be sure to warm the jar slightly before giving the bolus so you don’t end up with an upset stomach.  If this recipe doesn’t do the trick, try The Poopinator Plus. 

Here are some other foods that can have a laxative effect: Prunes or prune juice, *fresh spinach, black strap molasses, peaches, pears,pineapple, orange, apricots, plums, blueberries, soaked raisins, flax seed and flax seed oil, hemp seed and hemp milk, Aloe juice and fresh Aloe Vera,coconut oil, dried dates, dried figs and sweet potatoes.

Since everyone’s system is different, some things may work too well (causing diarrhea) and some not at all. It can be frustrating but don’t give up. Try foods independently or, like I did, create your own cocktail. Like any good recipe, just remember to write it down so the items and amounts stay consistent.

*Be careful not to use too much fresh spinach.  The iron in it can be counterproductive if not constipating.

*The key to blending fresh celery is volume when using the Vitamix. I fill the 48oz container to the “max” line, use the tamper to blend it down partially then add more chopped celery. This allows the blades to fully puree the fibers. If you don’t put in enough the celery the water to fiber ratio allows it to slip away from the blades and you end up with fibers that WILL clog the g-tube.  If you have any concerns about this, you should use a fine mess strainer to be sure all of the fibers are removed.

Split Pea Milk

  • Servings: 10
  • Difficulty: easy
  • Print

20170219_101215
The first time I had ever heard of this was on a Facebook group called blenderize RN. Having a teenage boy on a blenderized/pureed diet can be difficult at times. Because of his complicated GI tract and minimal oral experience, it’s hard finding things he can and will eat without slowing his digestion down. Since Matthew drinks his formula, I wanted to increase his calories and protein without adding more formula but do it in such a way as to not upset his very restricted palate. Enter “Ripple” (aka split pea milk). Since everything I blend for him is homemade, I thought I would try making it myself. I added 1 cup to his normal formula recipe and he didn’t even notice. It was so easy and inexpensive, I just had to share.

Ingredients

  • 1 1/2 cups of cooked yellow split peas
  • 3 1/2 cups of water
  • 2 tsp vanilla (optional)
  • 4 pitted dates

Directions

  1. In a medium size sauce pan, bring 1 cup of dry yellow split peas and 4 cups of water to a boil.  Boil for 10 minutes on high then reduce temperature to simmer and cook until peas are soft (about hour).  Do not drain the peas before adding them to the Vitamix.  Because the peas settle, you will want to sir the pot before measuring them out.
  2. In the large Vitamix container, add ingredients in the order listed and secure lid.
  3. Select Variable 1.
  4. Turn machine on and increase speed to Variable 10, then High.
  5. Blend for 1 minute or until completely smooth.
  6. Remove milk from blender and repeat steps 2-5 with remaining peas.

Food Tip: This recipe makes a total of 10 cups of milk.  Ripple is made in a factory with added oils and gums that are not in my homemade recipe.  The oils and gums allow the milk to stay in solution.  Even when using the Vitamix and a filtration bag, homemade milks will separate and need to be shaken before drinking or using in a recipe.  They have also reduced the peas to pea protein and removed the pea flavor.  If you are used to drinking the store bought Ripple, this may be a jump for you.  It is thick so if you plan on drinking it, you may want to thin it out a bit.  You can also run it through a filtration bag to remove more of the solids.  With 75 calories per cup and 8 grams of protein, it makes an excellent addition to a blended diet.  It can also easily replace cows milk in baking for those who have a dairy free diet.  Milk will stay fresh in the refrigerator for about 4 days.  For oral eaters, please check out my DIY Ripple Milk post.  If you are already a Ripple drinker, you may want to read How Is Ripple Milk Made? before you try to make it.  It will explain the difference.

Time Tip:  Make the full batch and freeze extra milk in ice cube trays then store in labeled and dated freezer bags.  Each cube is about 1 once making measuring a  breeze.

Money Tip: One pound of dry split peas cost around 70 cents a pound at bulk food stores like Winco.  Ripple milk runs about $4.99 for 48oz.  Since I only used 1 cup of dried beans, I made 80oz for only 33 cents!

Raw Coconut Milk

  • Servings: 8
  • Difficulty: easy
  • Print

coconut-milk-2

When I was a little girl growing up in Massachusetts, one of my favorite memories was making coconut beans and rice with my grandma. It was an old family recipe from Jamaica that was made during the holidays. When we were making it, the wonderfully sweet smell of fresh coconut filled the house. I can remember sitting at the kitchen table with a cheese grater grating the coconut meat by hand and placing it on cheese cloth. I can also remember the stern look I got from her when she caught me sneaking a piece to nibble on. It was my dad’s job to “milk” the coconut. The cheese cloth containing the shredded coconut was tied and placed in a pot of boiling water for 20 minutes then squeezed and measured. My dad was the only one tough enough to handle the job. All of this took lots of time but the final dish was like no other. It was a labor of love so we didn’t mind.

Fast forward to the present. Because of the Vitamix, I can make fresh coconut milk in a fraction of the time, no scraped knuckles from the grater, with less mess and nary a burn from scalding water.

Ingredients

Prepare fresh coconut

6oz fresh coconut meat

4 cups of water (total)


Directions

  1. Place coconut meat into the container and secure lid.
  2. Select Variable 1.
  3. Turn machine on and quickly increase speed to Variable 10, then High.
  4. Blend for 30 seconds or until a fine mash is formed using the tamper to press the coconut meat into the blades.
  5. Turn machine off, remove lid, scrape container with a Vitamix spatula, add 2 cups of the water and replace the lid.
  6. Select Variable 1.
  7. Turn machine on and quickly increase speed to Variable 10, then to High.
  8. Blend for 1 minute then pour contents into a Vitamix filtration bag to extract the milk.
  9. Return the mash in the filtration bag to the Vitamix container and add the remaining 2 cups of water.
  10. Repeat steps 6-8.

Food Tip: Save the coconut water extracted prior to removing the meat from the shell to drink separately.  Coconut milk is VERY high in fat calories so watch how much you drink (about 256 calories per 4oz serving). It is an excellent way to boost the calories in a blenderized or pureed diet for people with volume intolerance. Raw coconut milk will only stay fresh in the refrigerator for 4-5 days so freeze any unused milk and/or coconut water in ice-cube trays and store in dated labeled freezer bags. Always test for allergies by giving a small amount (1-2 tsp) over the course of 4-7 days.

Time Tip: Coconuts typically contain 12-14 oz of meat. Freeze any unused meat in a dated and labeled freezer bag for future use.

Money tip: Coconuts are less expensive during the holidays so stock up, process and save.

For more information on picking and processing fresh coconuts, please see my blog post on that topic.

Basic Blend

This is one of those “what we had for dinner” blends.  The picture and the recipe are spoon thick because it can just as easy be used for someone on a pureed diet.  To make it thinner for bolus or pump feeding, just add more turkey stock or bone broth if you happen to have some.  You may notice that the stock is green.  That’s because I blended the meal right after I had made a green smoothie.  By not washing out the container, I saved time and water.  Plus all of the extra nutrients from the green smoothie are now in the dinner blend!

1/2 cup of turkey or chicken stock

2 cups steamed or raw broccoli

1/2 cup brown rice

6oz (approx. 1 cup) cooked turkey or chicken

  1. Place all ingredients in the container in the order listed and secure lid.
  2. Select Variable 1.
  3. Turn machine on and quickly increase speed to variable 10, then to High.
  4. Blend for 1 minute, using the tamper to press the ingredients into the blades.

Food tip: This recipe is great for starting out.  None of the ingredients are commonly associated with food allergies.  Raw broccoli is a little harder to digest so, if the blend causes gas, steam the broccoli first.

Time Tip: If you are blending for a little one, freeze the blend in ice cube trays for quick easy 1 oz portions.  Depending on the caloric need, use batch blending and store in feeding specific quantities.

Money Tip:  Buying meat on sale is the best way to save money. For example, I buy an extra turkey during Thanksgiving and keep it in the freezer.  I cook it up some time later as a Sunday dinner, turn some of the leftovers into turkey enchiladas and setting aside at least a cup for blending.  Then I boil the carcass to make a a quick turkey stock or, if I have time, turkey bone broth.  Also, buy broccoli in bulk at a club store.  Use as much fresh as you can eat in 4 days and steam the remainder before freezing in 1-2 cup portions for later use.


Pureed Fresh Ginger

  • Difficulty: easy
  • Print

Time to toss the grater, folks!  This is the fastest and easiest way to process ginger.

Ingredients


3 cups of fresh ginger root

Directions

  1. Wash (no need to peel) and cut 2-3 cups of fresh ginger root.
  2. Place into Vitamix container and secure lid.
  3. Select Variable 1 and turn machine on.
  4. Quickly increase speed to variable 10, then High.
  5. Using the tamper, press the ginger into the blades and blend for 1-2 minutes or until completely smooth.

Food Tip:  As most of us know, ginger root makes an excellent tea and seasoning for a wide variety of dishes.  When using it in tea, make sure to stir occasionally.  Mixed in, the particles go unnoticed. But, if you leave it sitting and then drink it, you will find that the particles settle to the bottom making your last sip pretty grainy.

Time Tip: Freeze ginger puree in “mini cube” ice cube trays and store them in labeled freezer bags.  Each cube is about 1/2 teaspoon so there no guessing when it comes to measurements.  Don’t bother peeling it.  The Vitamix is powerful enough to blend the root and the skin so smooth that there are no fibrous strands in the puree.  Plan ahead and keep some on hand in the refrigerator for easy mixing.

Money Tip:  I looked up Ginger puree on line and it was going for $9 a pound.  Fresh ginger root runs about $6-7 .  Because of its strong flavor, only a small amount is needed.  Keeping it in the freezer means less waste in the refrigerator and the convenient cubes are ready when you are.

Matthew’s Green Smoothie

ATTENTION: Make sure to get clearance from your doctor before trying any blenderized diet.

My Helper
My Helper

1 cup of peppermint or chamomile tea
2 oz of Avocado
2 oz of fresh Aloe Vera (optional)
3 cups of greens
Makes 2 cups

Bolus Feeding Syringe

1. Place all ingredients into the Vitamix in the order listed and secure lid.
2. Select Variable 1.
3. Turn machine on and quickly increase speed to 10, then to High.
Blend for 1-2 minutes or until very smooth (no visible leaves).

Night Feeding Via Pump

Food Tip: When using this smoothie in the enteral feeding pump, it is vital that there are no leaf particles. Because the bag tubing, extension tubing and g-tube are all small in diameter, small bits of leaves can get caught and cause the pump to alarm and stop the feeding due to “No flow out”. Green smoothies do not work well without some type of fat in them. Outside of the health benefits, that’s why the avocado is added.Also, if formula is normally given, it is best to combine the smoothie with the formula and mix well. It has been my experience that straight green smoothies without the formula mixed in tend to separate. The pureed greens are lighter than the water so the water will go though the pump leaving the greens stuck in the feed bag.  If Aloe Vera is used it must be food grade.  Do not use fresh Aloe Vera unless you know how to properly prepare it.

Time Tip: How much smoothie to give depends on total volume and tolerance. It is best fresh within 2-3 days so I store the remaining smoothie in a container that allows me to shake it up before pouring.

Money Tip: Since they are going to be blended, buy greens in bulk and freeze any portion you do not use within 3-5 days. That way there is no waste from greens gone bad in the refrigerator.  Fresh frozen greens such as kale and spinach break up easily once frozen allowing for easy measuring and blending.

Sunrise Green Smoothie

This makes for a great eye opener but It’s refreshing any time of day.

Sunrise Green Smoothie

1 cup water

1cup romaine lettuce

1 cup fresh spinach

thin slice of fresh lemon (including the peel)

4 frozen pineapple cubes (or 4oz frozen pineapple)

2 frozen mango cubes (or 2oz frozen mango)

1 Stevia packet (or more to taste)

  1. Placed all into the Vitamix container in  the order listed and secure lid.
  2. Select Variable 1.
  3. Turn machine on and quickly increase speed to Variable 10, then to High.
  4. Blend for 1 minute or until desired consistency is reached.  Use the tamper if needed to push the ingredients into the blades.

Food Tip:  Any of your favorite greens will work in this smoothie.  Spinach and romaine lettuce are good starters for the novice green smoothie drinker because the fruit masks the taste of the greens.  As you get more accustomed to the taste, try removing the Stevia and some of the fruit.  That will retrain your palate into not always needing food to be sweet to taste good.

Time Tip:  As with my other smoothie recipes, I save time by pureeing the fruit and freezing them in ice cube trays.  No need to separate large chunks of frozen fruit. Also, I can add exactly the desired amount of fruit keeping the flavor just like I like it or give me option to change it up a bit.

Money Tip:  Buy your greens at a food warehouse such as Costco or Sam’s Club.  As soon as you open the bags, fill  gallon-sized freezer bags, label and date them, then put them straight into the freezer.  Use up the fresh greens in the refrigerator then begin using the frozen greens.  No more tossing half of your greens in the trash 3 days after you bring the home and running out to by more.  No waste ALWAYS means more money in your pocket.

Hummus

Hummus

2 cups cooked chick peas (according to the package)
¼ -½ cup bean liquid
3oz (1/3 cup) tahini (see recipe)
¼ cup olive oil
¼ cup of lemon juice or a 2oz peeled section of lemon
2-3 cloves of garlic
1-3 tsp garlic salt

Hummus prep

1. Place all ingredients into the Vitamix container in the order listed and secure lid.
2. Select Variable 1.
3. Turn machine on and quickly increase speed to Variable 10, then to High.
4. Blend for 1 minute using the tamper to press the ingredients into the blades (if necessary).

Food Tip: Hummus is an Arabic word meaning chickpeas or garbanzo beans. The complete name of the prepared spread in Arabic is hummus bi tahini. So can you make hummus without tahini? Yes but, in my opinion, the flavor is lacking. Tahini is roasted sesame seeds that are blended to the consistency of creamy peanut butter. Eaten by itself, it has a rich nutty flavor. If you buy it in the jar it tends to have a bitter aftertaste. Blended with the chick peas it gives life and body to the spread. Traditionally, hummus is the consistency of yogurt but add the liquid to make it as thin or thick as you desire. Serve with fresh veggies, pita chips or as a spread for a pita sandwich or wrap.
Time Tip: 2 cups of sesame seeds makes about 1 cup of tahini. Make it in advance and keep it the refrigerator for future fresh batches. Another time saving technique is to make 3 batches (1 pound of dry beans cooked). Blend each batch individually and freeze them in various size plastic containers. After they are frozen, pop them out into a large Ziploc Freezer bags and store in the freezer for up to 6 months. That way you can defrost as little or as much as you need. Amazingly, it tastes as if it were just made after it’s been defrosted and warmed up a bit.
Money Tip: Buying dry beans is always less expensive (and tastes better) than canned beans. Making your own tahini in your Vitamix is way less expensive (and also tastes better) than buying it in a jar. Last but not least, freezing your hummus not only saves time but money. You only defrost what you plan to use in the next 3-4 days so there is none to throw away.

Hirschsprung’s Disease

Because this blog is a recipe blog as well as  an informative blog, I will often use links to pass on information.  Because of content, some information has no place in the context of my recipes.  This is such a link. It will explain the disease so you can get a better picture of what struggles I have balancing Matthew’s diet.  Matthew’s condition was surgically corrected at 8 months old.  The surgeon was quick to tell me that he is unable to tell the quality and the quantity of the remaining nerve cells in Matt’s colon so future problems could arise. And arise they did. When I post about the green smoothie I now use in his feeding pump, I will reference this link in “Did You Know?”:

http://www.mayoclinic.org/diseases-conditions/hirschsprungs-disease/basics/symptoms/con-20027602

Nine Layer Bean Dip

Nine Layer Bean Dip
Nine Layer Bean Dip

This recipe has some serious history behind it.  It all started about 16 years ago.  We had been invited to join my husband’s best friends family for a Fourth of July barbecue/swim party.  It was a pot luck for a fairly large group so I thought the nine layer bean dip would work well as an appetizer.  The dip was a hit and so began a Barton Family Bean Dip legacy.  At first it was just 1 pan but then I found out a family member had an allergy to avocados so I added a small pan that had no guacamole in it.  Soon the dip was disappearing as fast as I brought it out.  Come to find out, people were skipping lunch just to eat the dip when we arrived.

9 layer dip dos


9 layer dip


Fast forward to the present.  We now bring 3 varieties of the dip all weighing between 5 and 7 pounds each to all of our Memorial Day, Fourth of July and Labor Day gatherings.  Three parties every year plus a couple of extra events thrown in by special request.  That’s a lot of dip!  One year we had to miss Memorial Day because Matthew was in the hospital.  One family member jokingly asked, “Well, can you at least bring the dip?”  Yeah.  It’s that good!

GE

Well, now it’s football season and the holiday season is quickly approaching.  The next time you are invited to a party bring “the dip”.  Word of caution, be prepared to be stopped at the door when you are invited back and you decide to bring something else!

3 cups of non-fried re-fried beans
2 cups diced green chiles
2 cups guacamole
1 cup taco seasoning
2 cups chopped olives
2 cups diced tomatoes
1 ½ cups chopped green onion
2 cups sour cream
2 cups shredded cheddar/Monterey Jack cheese

Guacamole directions: Peel, pit and mash 4-5 avocados. Mix in ¼ cup sour cream and salt, Cayenne pepper and black pepper to taste.

Dip directions: Layer each ingredient into a large lasagna pan (13-1/2 in. L x 9-5/8 in. W x 2-3/4 in. H) in the order listed. Chill in the refrigerator for at least 1 hour before serving.

Food Tip: For those allergic to avocado, eliminate that layer. For those who like a spicier dip, use chopped jalapenos in place of green chiles. This size dip is excellent for parties. If you want a smaller dip, choose the desired size pan and evenly layer all of the ingredients. The beans should measure about ¾ inch deep and each successive layer should completely cover the one below it.

Time Tip: The beans puree and spread much easier if they are freshly cooked and blended. Spread the non-fried re-fried beans into the pan, cover with foil and refrigerate overnight. Also chop the olives, tomatoes, green chiles and/or jalapenos the night before and store in airtight containers. It is best to chop the onions and make the guacamole the day the dip is to prepared and eaten.

Money Tip: When making this dip for a large group it is best to buy the ingredients at club stores or stores that specialize in catering. Making the non-fried re-fried beans fresh from beans purchased at a bulk food store is always more nutritional, less expensive and better tasting than canned.