Category Archives: Blenderized

Tube feeding

Homemade “Ripple” (Split Pea) Milk

DIY Ripple Milk

  • Servings: 10-13
  • Difficulty: easy
  • Print

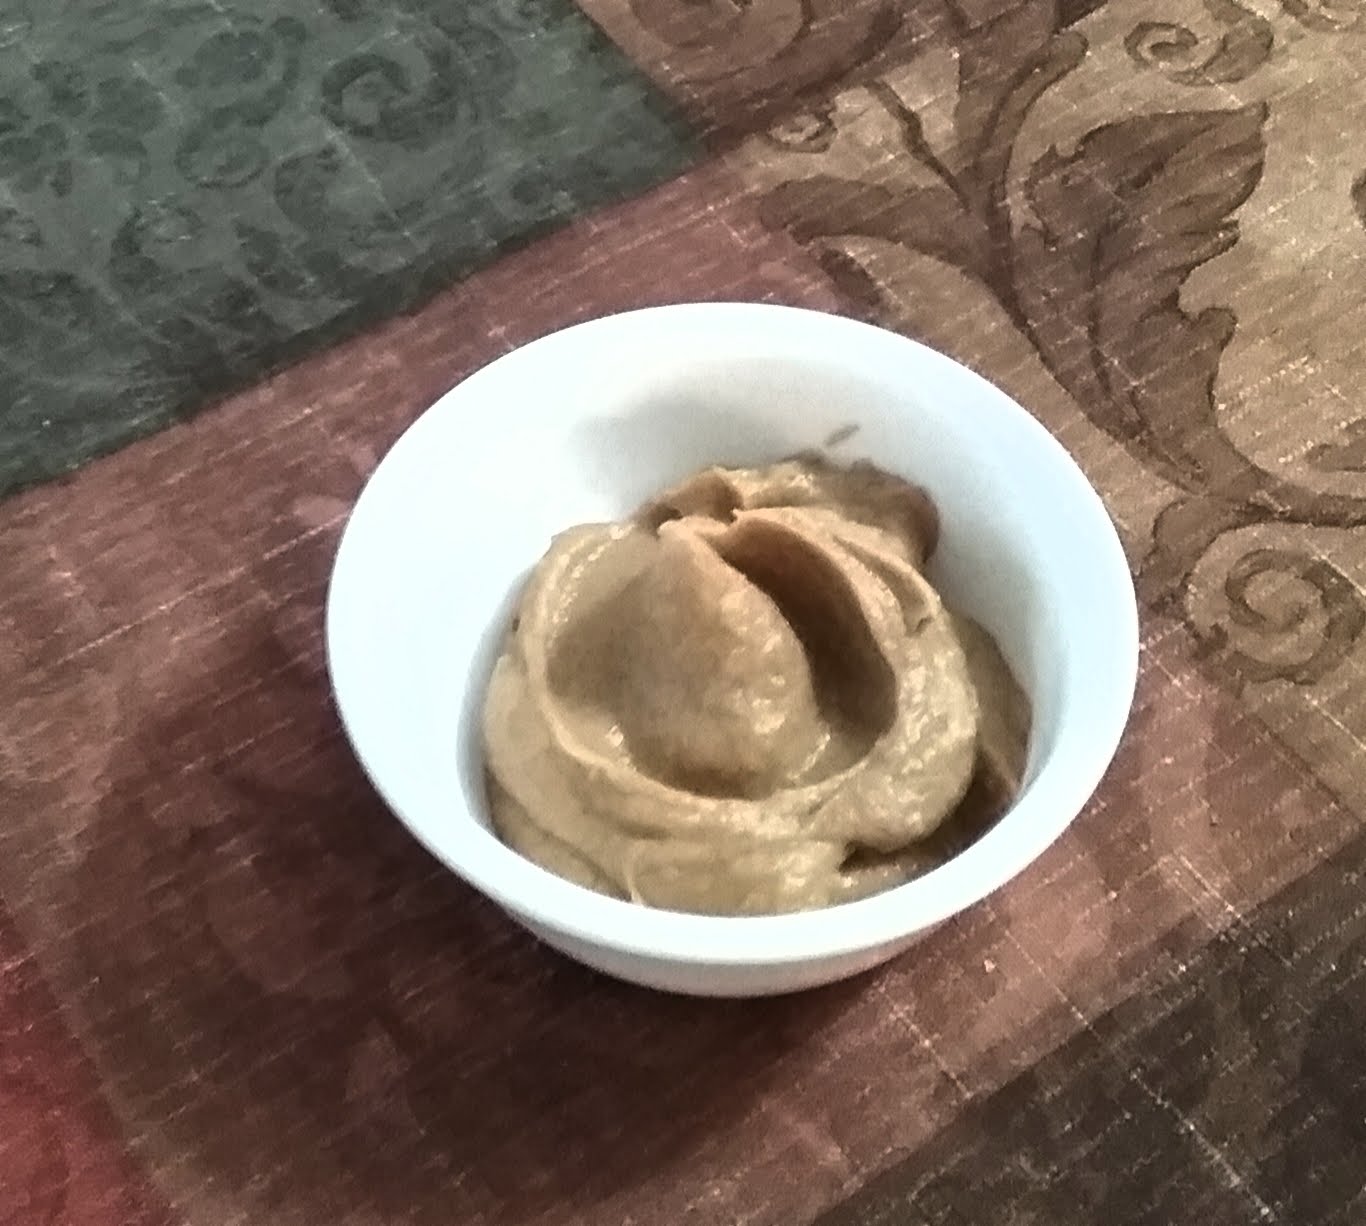
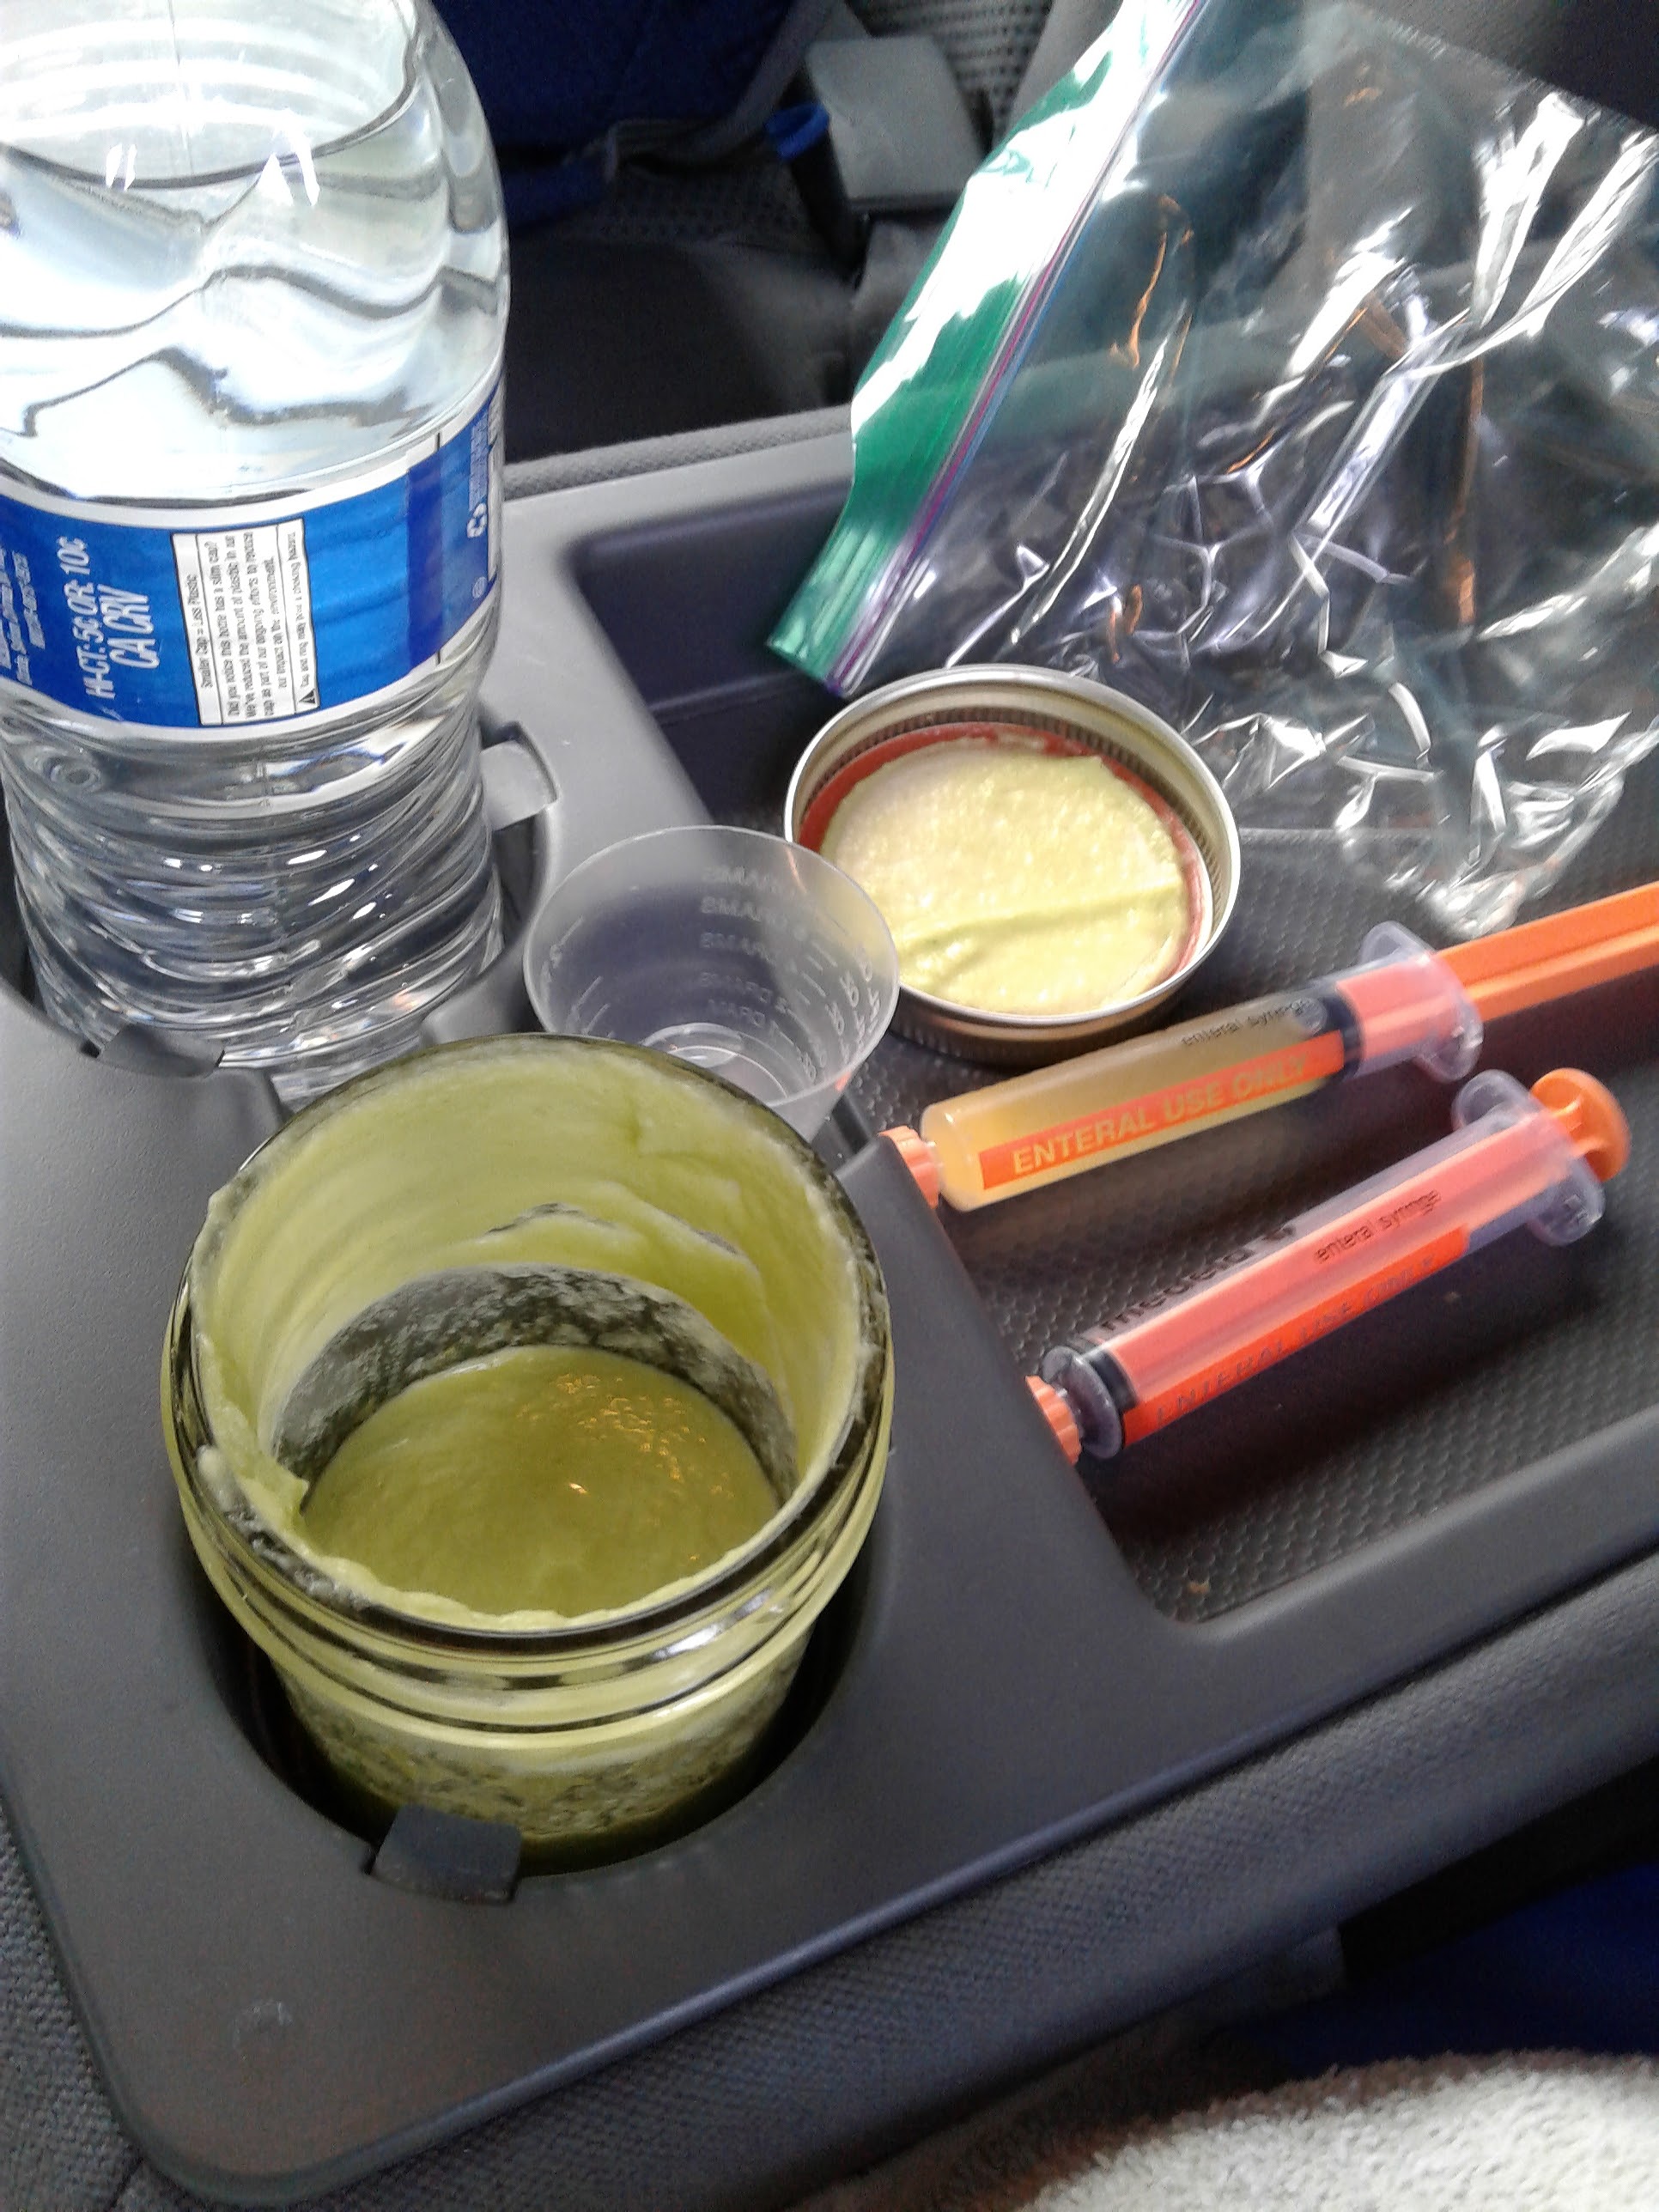
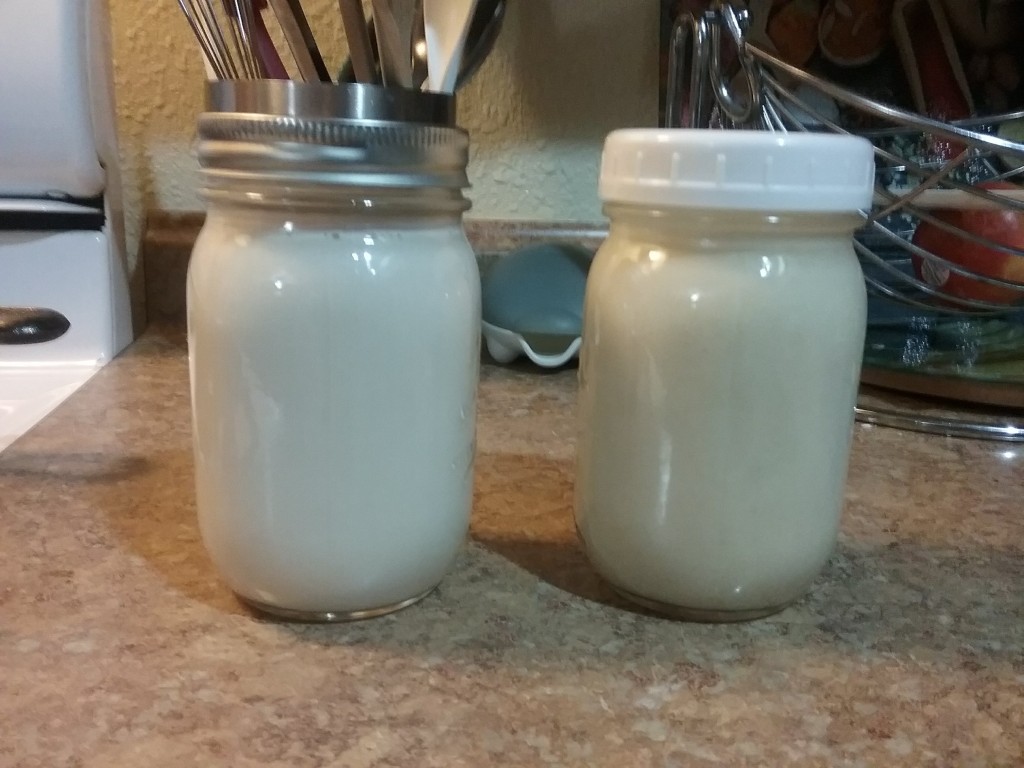
This recipe is more of an addendum to my split pea milk recipe.  I have had many more questions about it coming from Ripple drinkers.  Some of the struggles were:  separation, strong pea taste, watery taste and thickened texture.  My original recipe was written for g-tube feedings and oral eaters with limited taste experiences.  After fielding many of your questions, I set out to make a recipe that would work for Ripple drinkers.  Please keep in mind, nothing we make at home can match the process that Ripple can produce in the lab.  This recipe is creamier than my original recipe and does not separate.  Hopefully my adjustments will make it more palatable.  Please take note of the pictures above.  The picture in the top right corner show 2 mason jars.  The jar on the left is Ripple.  The jar on the right is the DIY Ripple.  Even after sitting overnight, it had not separated.

As always, my goal is not to just create and share new recipes but to educate:  To give information not opinions.  The pictures and notes are here to help you make the best choice for you.

Ingredients

  • 1 cup of dry split peas (cooked in 3 cups of water)
  • 4 large Medjool dates (3oz)
  • 2-4 teaspoons of vanilla
  • 1/4 cup of Sunflower oil (or oil of choice)
  • 7-10 cups of water


Directions


Cooking the split peas:
Place 1 cup of dried peas into a bowl and cover with 3 cups of water. Let sit for 8 hours or overnight. Transfer the peas into a pot or into the pressure cooker. If cooking on the stove, cook peas about 1-1 1/2 hours or until the peas are completely soft and all of the water has been absorbed. Stir.  Note:  If using an electric pressure cooker, there is no need to soak the peas overnight.  Select “beans/lentils” and adjust the time setting to 30 minutes. Once the timer goes off, allow the pressure to release naturally. This may take up to 15 minutes. Remove lid and stir. Note, if using the pressure cooker it is important NOT to use the quick release. The starch in peas is very light. Using the quick release up and out of the pressure cooker through the valve making a mess:

Power Pressure Cooker XL (2)

Making the milk:

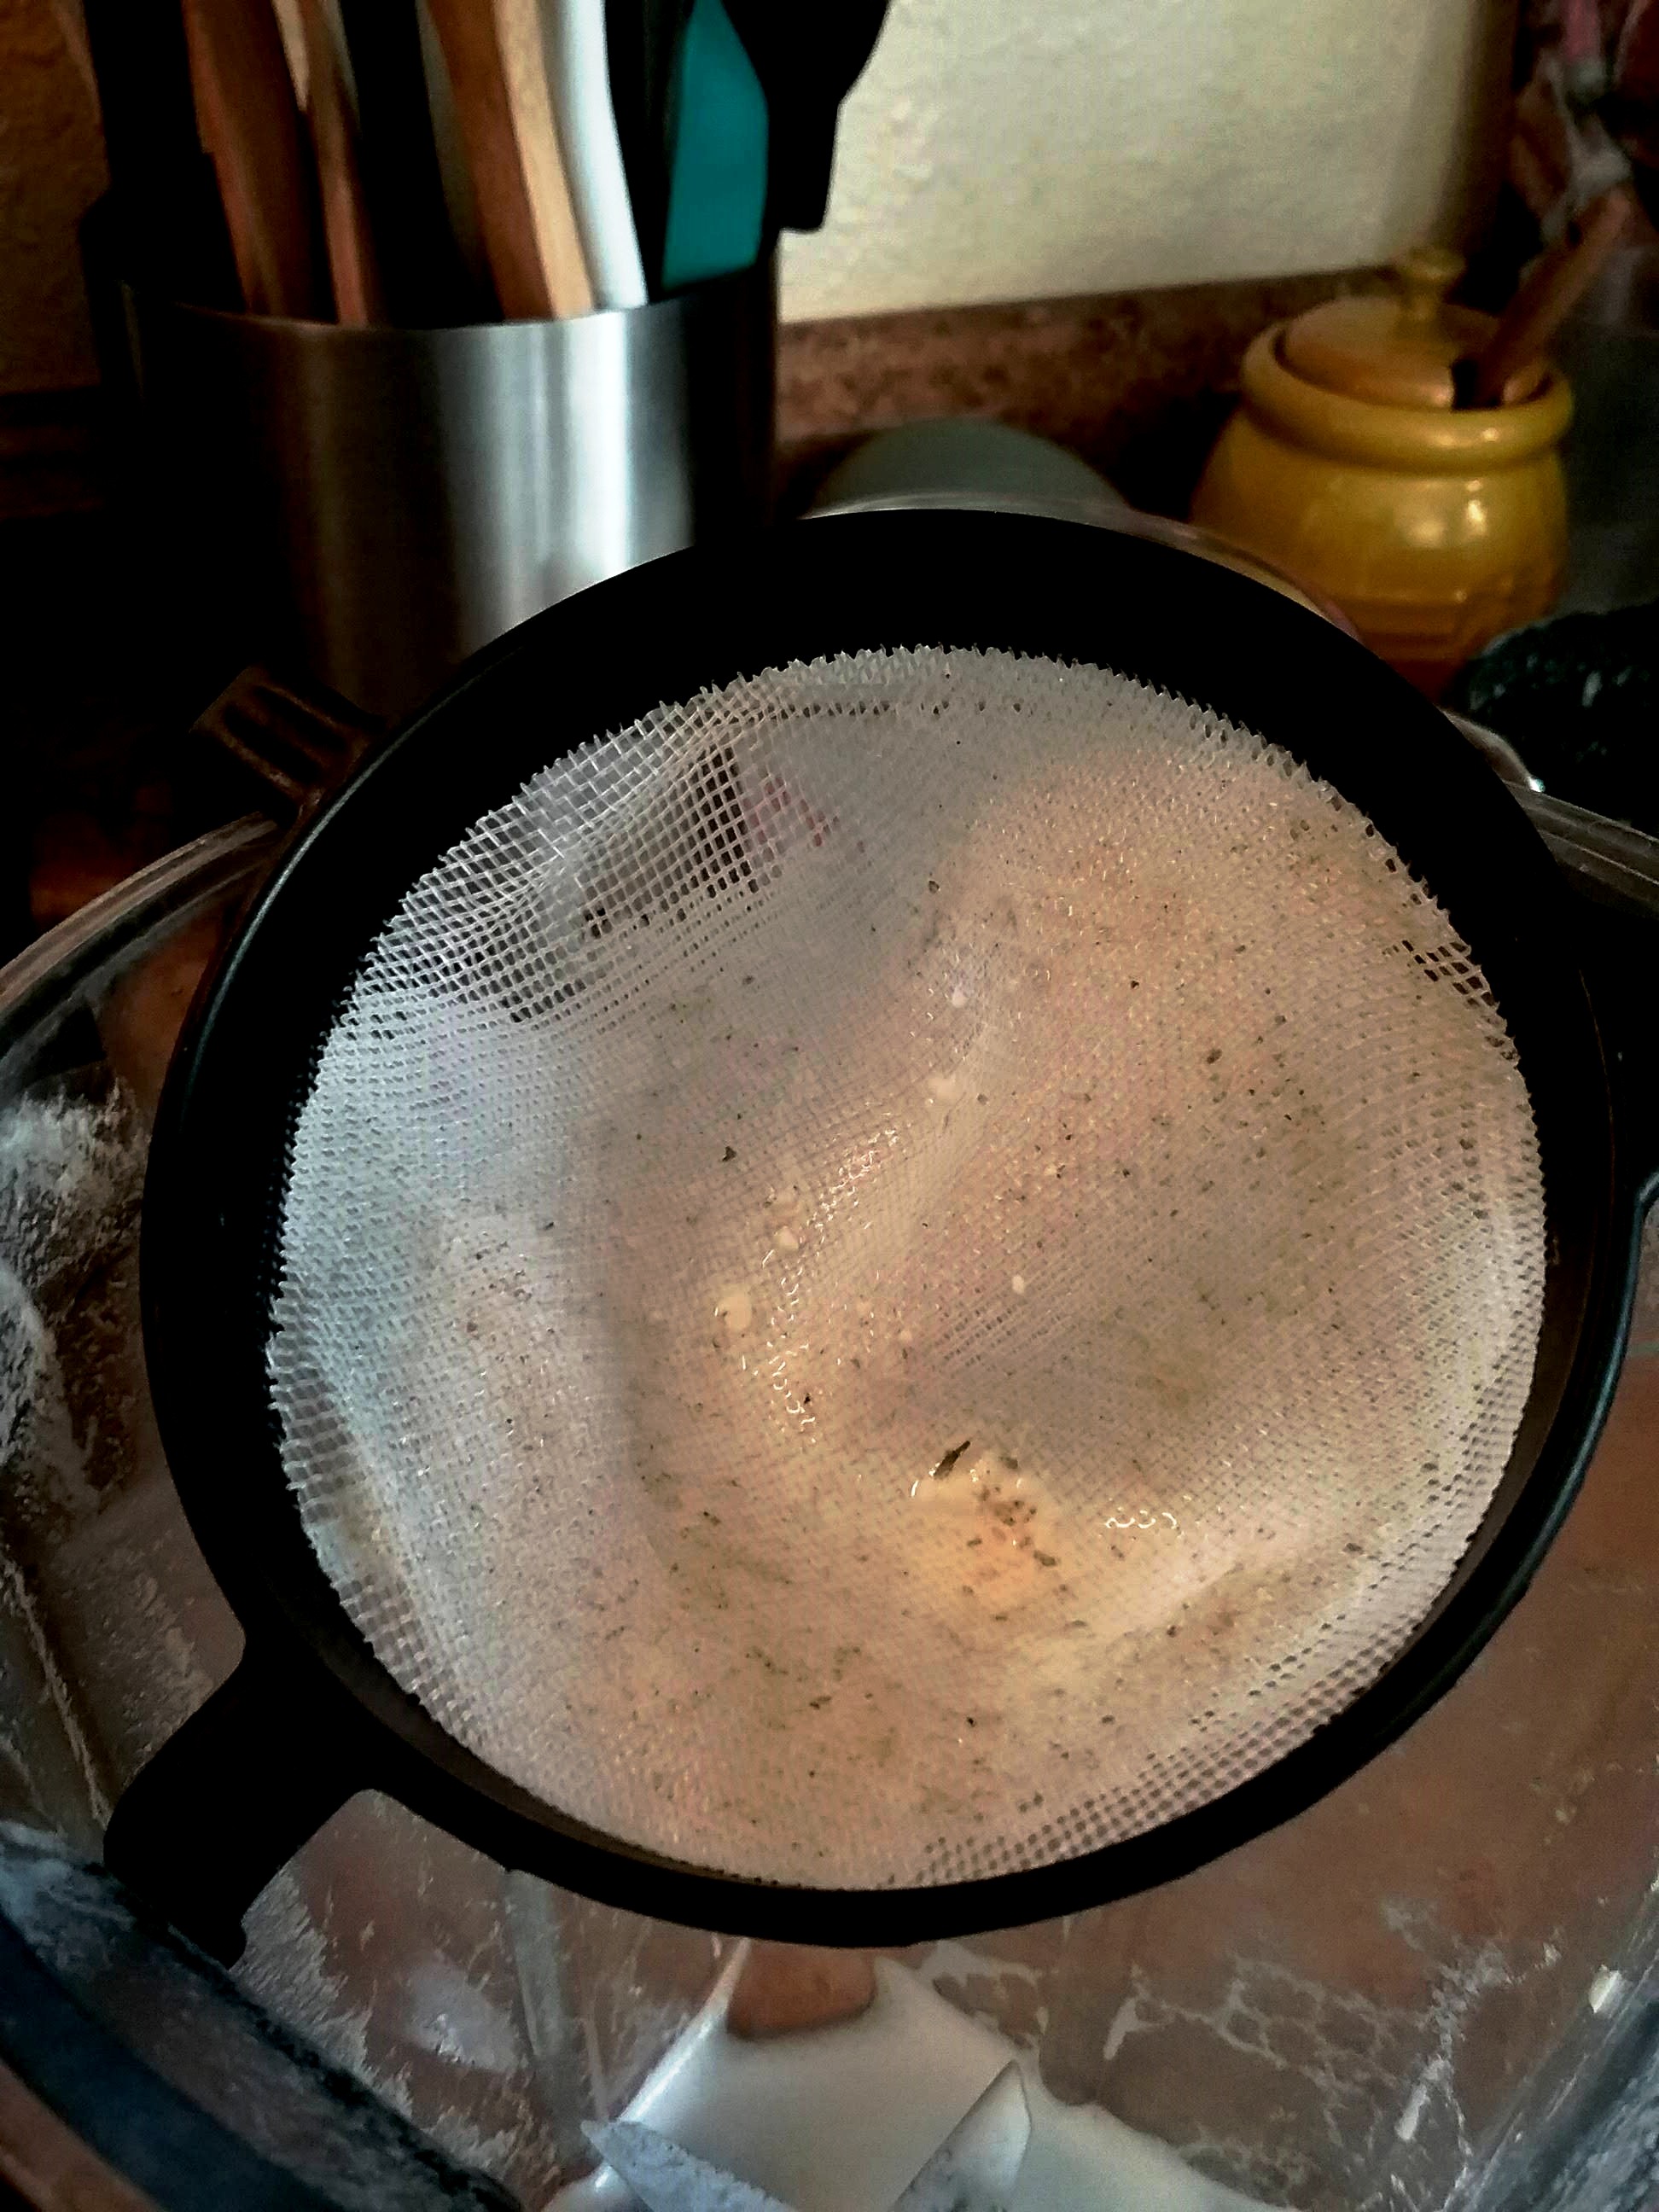
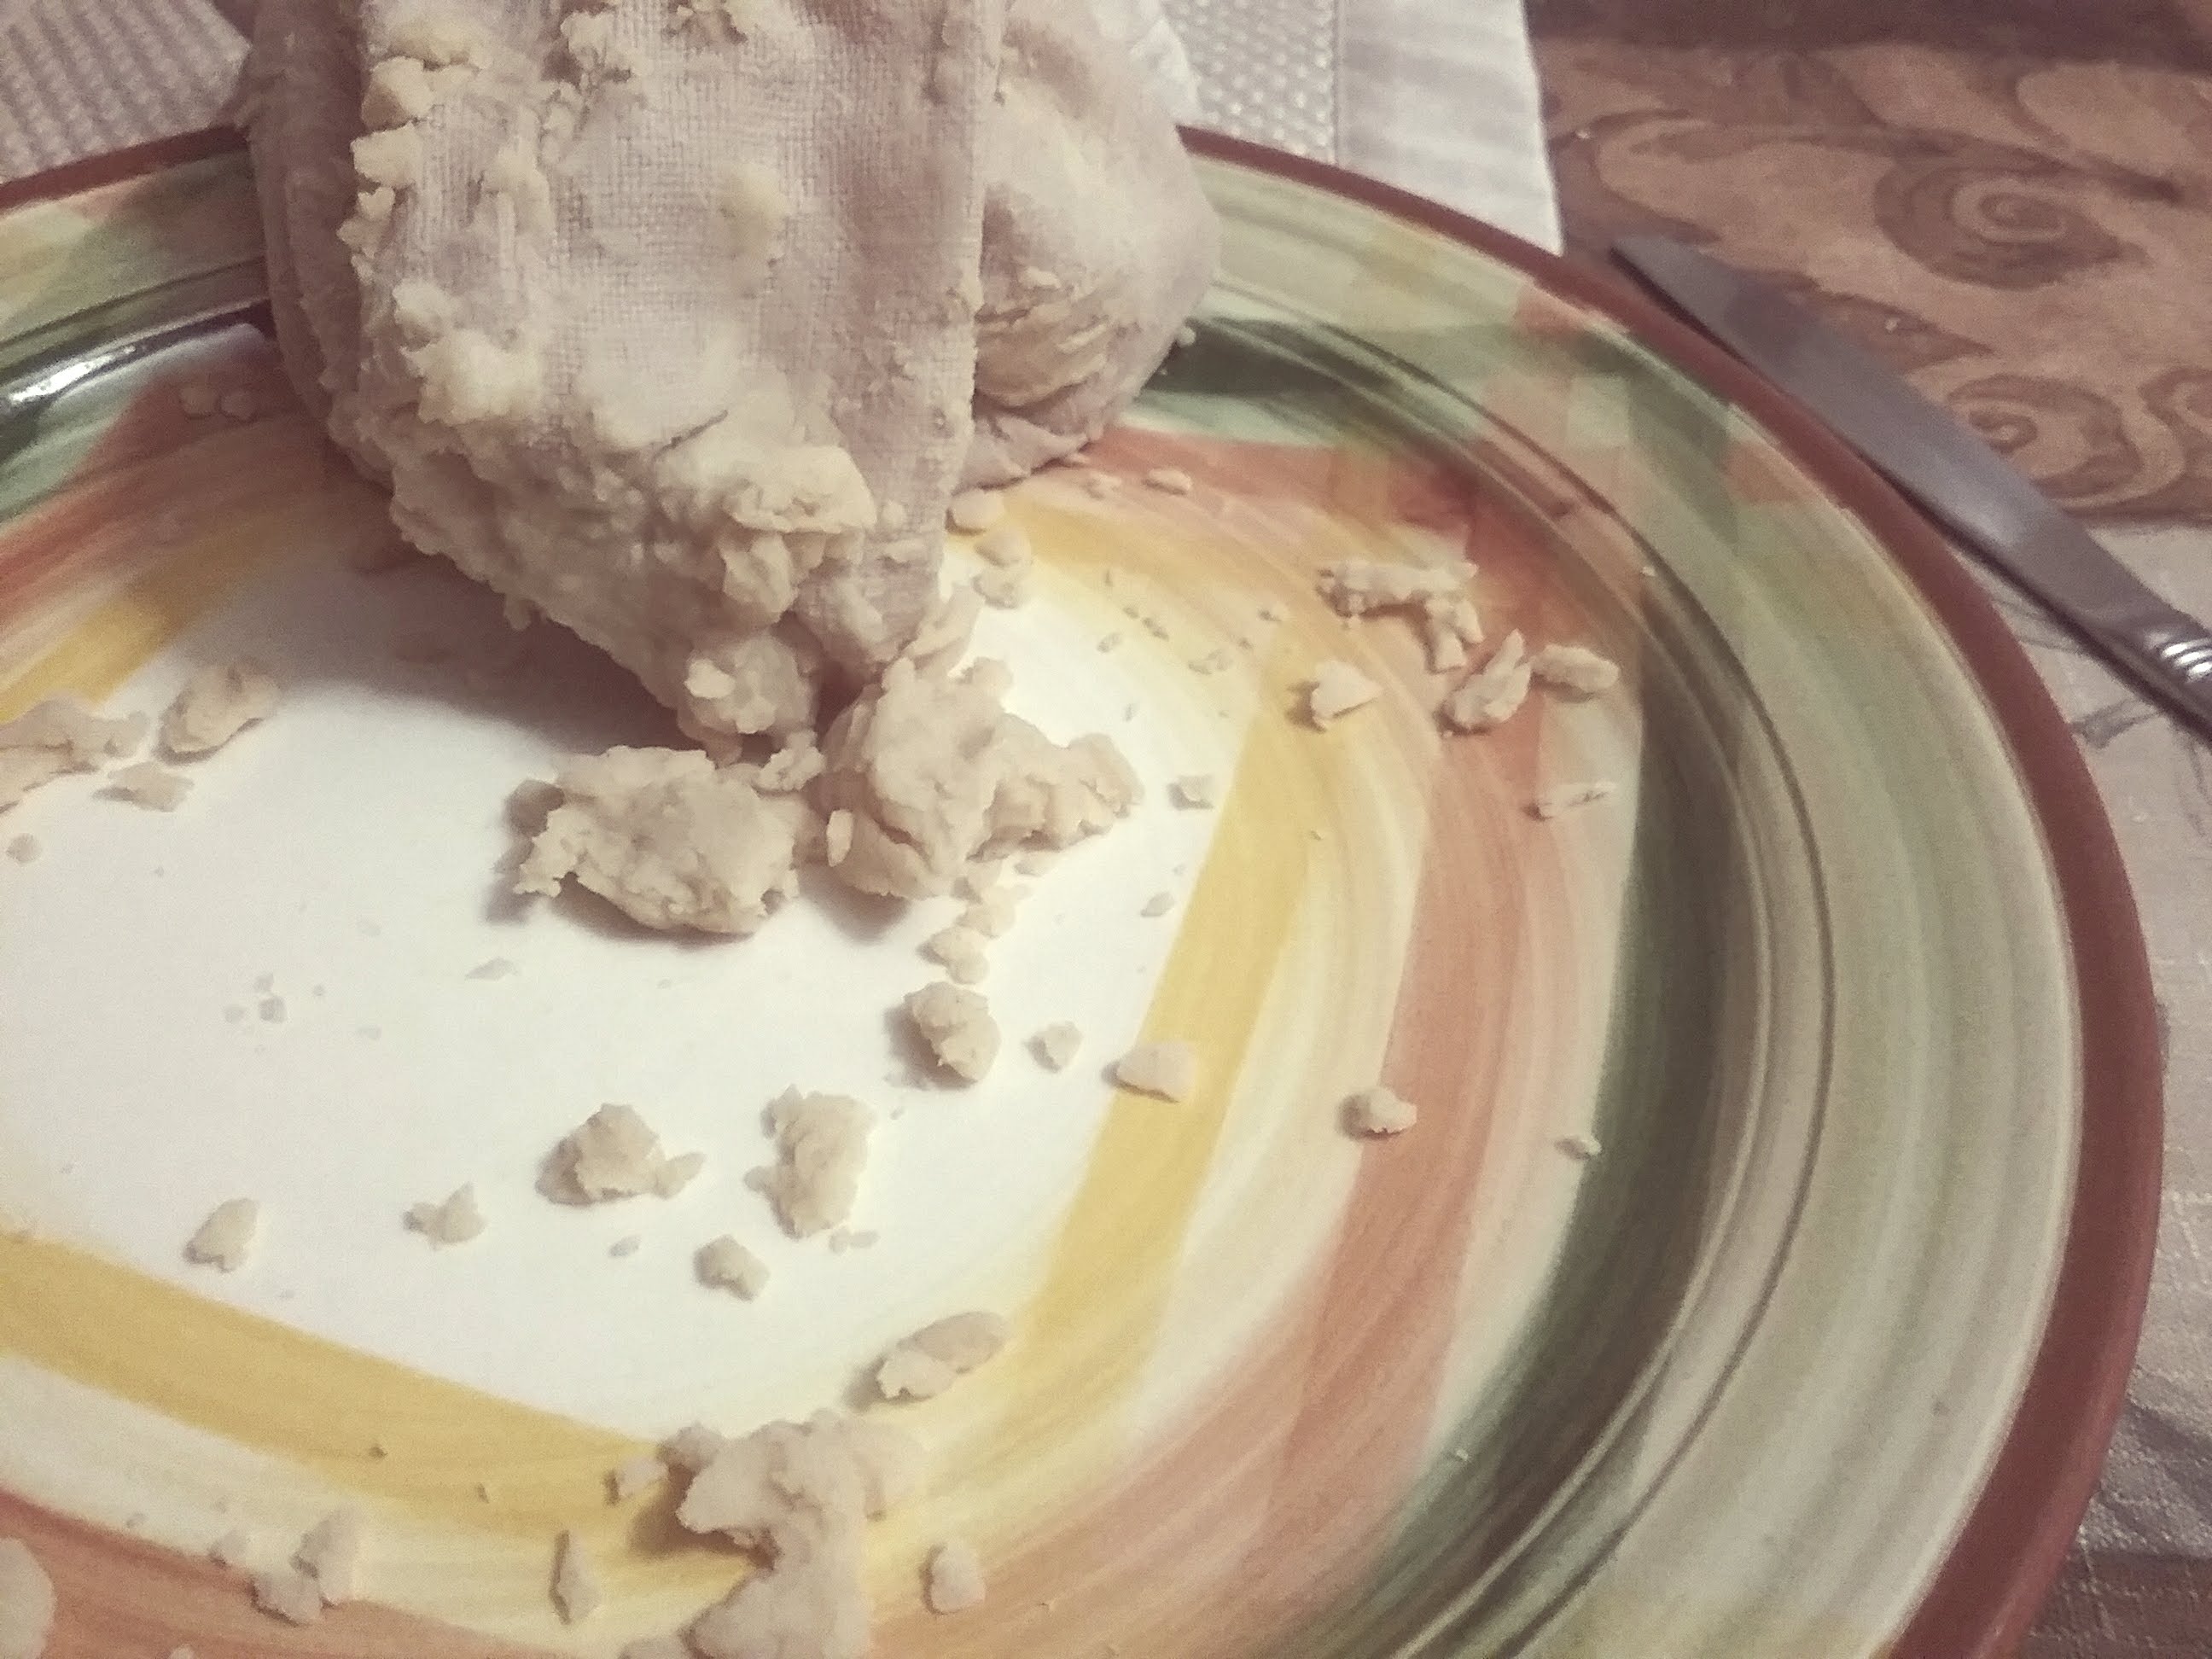
Place 1 1/2 cups of cooked peas into the large (64oz) Vitamix container. Add 3 1/2-5 cups of water, dates, 1/2 of the oil (5 teaspoons) and vanilla and let stand (to soften the dates) for 30 minutes. Blend on High for 1 minute or use the “Smoothie” setting.  Transfer first batch to mason jars and ice cube trays.  Repeat the process with the remaining ingredients.  If If the texture is not to your liking, you may want to run the milk through a nut milk bag to remove the starchy component of the peas.

DIY Ripple (11)

 Please keep in mind that, if you need it to have a higher caloric content, you will lose quite a few calories this way.  The milk will keep fresh for about 4 days in the refrigerator.  How quickly you use the milk will help you decide how much to freeze.  After I use what is in the refrigerator, I take out only what I will use the next day and let it thaw overnight.


Food tips: Although sunflower oil is listed, I used grape seed oil because I didn’t have any and couldn’t find any.  Other oils will work but I would hesitate using coconut oil.  Coconut oil is solid at room temperature and could clog g-tubes if the milk separates when chilled.   I put sunflower oil in the recipe because that is the oil listed on the Ripple label.  I don’t know if it would taste any different since vegetable oil is pretty tasteless.  I’m sure it’s better for you so use it if you can find it and afford it.  Be sure to pit the dates before putting them into the blender.  I don’t use pitted dates in my recipes because they are too dry and sometime the pits are not completely removed.   Calories/cup are 141.5.  The breakdown is in the Cronometer picture below. Because Ripple is making it’s milk from extracted pea protein and not whole peas, their protein content will be higher. Other than that, my DIY version of vanilla Ripple is pretty close  if it is consumed unfiltered:

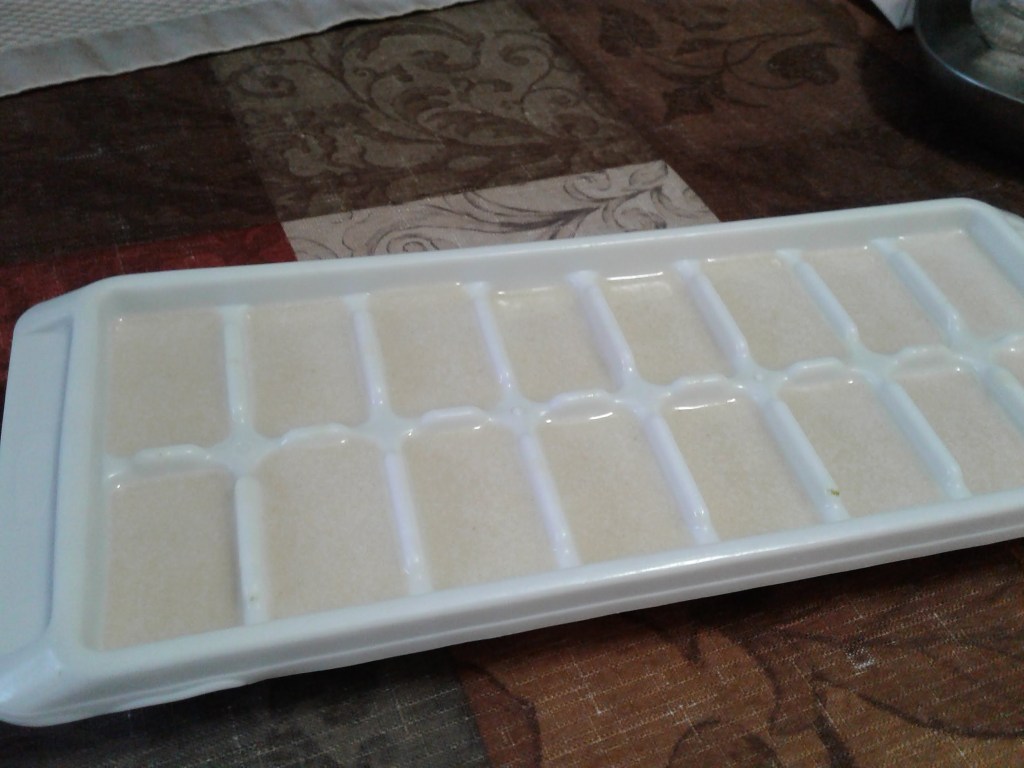
Time tip:  If you have a pressure cooker, use it.  Time and clean up can be cut in half that way.  Freezing the extra milk in ice cube trays makes it easy to defrost exactly what you want. Each standard ice cube is 1 once.

Money Tip:  Buying your peas from a bulk food store like Winco Foods  is the best money saver.  Most of their bulk food items are 1/3 to 1/2 the cost of those bought prepackaged.  It also saves on waste because you only buy what you need.

How Is Ripple Milk Made?

Ripple
Store Bought vs Homemade

“HELP!  My DYI Ripple doesn’t taste, look or feel like the store bought one!”  And, it won’t.  Ripple is made in a lab where they are able to isolate the pea protein from split peas while our home versions are, well, made in our kitchens.  We do not have machines that can do that.  Also they add oil and different gums that keep it homogenized and smooth.  Last time I checked I could not just walk into the grocery store and buy guar gum.  Don’t get me wrong.  I have nothing against Ripple.  In fact, now that I have tried it, I think it’s pretty good.

So why bother making my own?  Certainly going to the store and buying a bottle is far more convenient and less time consuming.  I’ll be honest.  It’s the cost.  In fact that’s why I choose to make my own hemp , coconut and almond  milks.  When the doctor says Matthew’s calories need to increase by 200 calories a day, the cash register goes off in my head.  Let’s do the math.  Each 48oz bottle of Ripple costs $4.99.  That’s 6 cups.  If each cup is 70 calories, I am going to need to add almost 3 cups a day to his current diet.  So the bottle will only last about 2 days.  Lets’ say I buy 3 bottles a week.  That’s $15 a week or $60 a month just on Ripple!  Since that is not an option for me (and I’m guessing not for you either) getting as close to taste, consistency and texture is my goal.  I have made a new batch that is much closer and it does not separate.  That post is coming soon.

In the mean time, if you are interested in seeing how Ripple is made, I found an interview sheds some light on how it’s made.  Obviously the cost is somewhat justifiable with all that they have to do to make it taste the way it does.  Personally, I’d rather adjust my taste buds a bit and spend the money elsewhere.  But, if I’m in a pinch, I will not feel guilty about buying a bottle now and then.

Fig Butter

Fig Butter

  • Servings: 16
  • Difficulty: easy
  • Print
Fig Butter (5)

This was an unexpected surprise!  I was originally trying to add more fiber to the Poopinator Plus because we are still waiting on a referral to UCLA Children’s Hospital for a more in depth motility.  I also thought it would help his weight loss issue due his currently very limited diet.  Sadly the fig gave him too much gas so I had to pull it out.  But, as always, I try all of his blends to make sure they taste good and this was amazing!  So far, with only 2 calorie dense ingredients an zero prep time this is by far the easiest, highest fiber calorie booster I have made to date.

Ingredients

-8oz Hemp Milk

-8oz Dried Adriatic Figs

Directions

  1. Place the ingredients to the 32oz  Vitamix container in the order listed and secure lid.
  2. Let sit for 20 minutes to soften the figs.
  3. Select Variable 1.
  4. Turn machine on and quickly increase speed to Variable 10, then to High.
  5. Blend until completely smooth (approximately 1-2 minutes), using the tamper to press the ingredients into the blades.

Food Tips:  This recipe packs 56.8 calories per 1 ounce serving.  That makes it a good calorie booster without added sugars and/or syrup.  Because it’s important for oral eaters, I always taste my recipes.  This tastes amazing on toast (as seen in the picture).  By itself it’s pretty sweet but added to other pureed dessert or snack recipes, I think it would tastes great.

Time tip:  Freeze this butter in ice cube trays then pop them out into freezer bags for easy storage and quick defrost.

Money Tip:  As with most of my ingredients, the figs and hemp seed are best purchased at a bulk food store  like Winco.  The prices are always much lower and you can by just what you need so there’s no waste.

The Poopinator Plus

Matthew did very well on the Poopinator for a time.  Then slowly it stopped working and he began backing up again.  We had to put him back on Miralax, added Lactulose, Senna Plus, Enemeez and eventually the Peristeen pump.  Each addition brought some relief for a time but then stopped working.  He ended up back in the hospital for yet another clean out in October and to complete some much needed testing.  After a Sitz Marker Study, we came to the conclusion that there was no specific areas of colonic inertia .  His infectious Disease doctor highly suspects the backing up of his bowels was the cause of the g-tube stoma infection and the GI doctors are suggesting an Apendicostomy.

So here we are caught between a rock and a hard place.  Matt eats most of his blends by mouth but gets meds, extra water, the Poopinator and an overnight feeding of green smoothie.  Because of issues with his immune system, having an Appendicostomy done most likely would increase his chances of  infection.  On the other hand, after 16 years of major GI issues, I can’t see how I could maintain his nutrition and medication regimen without the g-tube.

So now I am on a mission.  Delay or completely avoid another surgery.  He has been drinking a blend throughout the day that contains hemp milk and it seems to bring him some relief.  Then it came to me:  Why not give him a straight shot of it with The Poopinator?  It might have a better effect that way.

Ingredients:

  • 4oz of the original recipe or any combination of the foods listed in The Poopinator
  • 1oz of hemp milk or kefir

Directions:  Warm the Poopinator THEN add the hemp milk or kefir.  I have found that warming the Poopinator Plus in the microwave causes the hemp milk to clump.  That can cause an extension tube to clog. I have also noted that heating hemp milk in a recipe causes it to thicken. Also, if you are using kefir, you will want to add it after the mixture has been warmed to avoid killing off the good bacteria.  Give as a bolus at the fastest rate that is tolerated.  Flush with at least 10cc of water.  If the volume is too high, reduce the solids before reducing the hemp milk until a tolerable volume is reached.

Please remember this:  Medication and/or surgical intervention is not a failure on your part (somehow I think I’m talking to myself here).  The goal is to do whatever it takes to give our loved one(s) the best quality of life possible.  Blended whole foods is by far the best choice over formulas but sometimes it’s just not enough.  Hang in there and don’t quit!

Raiden’s Breakfast Blend

Raiden Barnes
Raiden

One of the most rewarding parts of being a tubie parent is being able to help others along on the journey.  Raiden’s mom and I connected through a group online and now I get to watch him thrive on…You guessed it.  Real food.  Just look at that smile!  I don’t know about you but I think he’s saying, “Thanks, Mom!”

Getting started can be scary and overwhelming.  Just remind yourself that, barring any dietary restrictions, tubies are real people who need real food.  Think to yourself, if my son, daughter or family member could take in 100% of what their body needs to thrive orally, what would they eat?  If the person was able to eat before the tube was placed, what did they like to eat?  That is always a good place to start.  If your tubie is a baby just starting out, introduce 1 food at a time just as you would any baby, paying special attention to possible allergic reactions.  There is also a hidden benefit to the tube.  Tubies often get a more balanced diet because you don’t have to battle their taste buds.

Using the Vitamix makes it much quicker and easier to blend smooth enough for gastric tubes. Many other types of blenders leave food particles that can clog the button and/or the extension tubing or get stuck in the filter of the feeding bag. When that happens the “No Flow Out” alarm goes off. Trust me. There is nothing worse than spending a good amount of time blending only to have to drop what you are doing to change out the bag. Of course you can put your blend through a strainer but why waste the time if you don’t have to.

Now, the title of this post is Raiden’s Breakfast Blend so let’s get to it.

Raiden's Breakfast Blend 8

Ingredients:

  • 1/2 cup of old fashion or quick oats
  • 1 cup of Fairlife whole milk
  • 1  cooked scrambled egg
  • 1 apple

Directions:

Combine oats and milk and cook according to the directions on the package.  Cook the scrambled egg and set aside.  Cut apple into quarters and remove the seeds.  DO NOT PEEL.

  1. Place apple oatmeal and egg into the Vitamix container (in that order) and secure lid.
  2. Select Variable1.
  3. Turn machine on and quickly increase speed to Variable 10, the to High.
  4. Blend for 1 minute or until completely smooth.
Raiden's Breakfast Blend (4)
Enfit Syringe with Adapter

This blend is about 300 calories.  If the blend is too thick, water can be added to reach the desired consistency.  Thinner blends can have lots of bubbles so it’s best to let it sit a while before giving it as a bolus feeding.

Mooie!

enteral-feeding
Night Feeding Via Pump

Ok it’s been a while since I been able to add a new recipe so here goes.  I’m dedicating this to 2 young tubie warriors.  This ones for you, kiddos!

Three years ago, right before Matt had his hip surgery, his digestive tract started giving him problems again.  I was trying to avoid putting him on laxatives so I developed a green smoothie that I had hoped would help him.  I originally put fruit in it and offered it to him to drink.  He liked it (sort of) but he only drank 2oz.  I knew that was not enough to work so I went back to the drawing board.  Then it dawned on me.  He has a g-tube!  He doesn’t need to drink it so I can remove the fruit and add more greens!  It worked.  The added greens allowed me to add more fiber without fighting with him about the taste.  Now when I give him a bolus feeding or hang his bag for his night feeding he smiles and says, “Ooh! Mooie!  Yup.  You got it.  That’s where the name came from.

image4-3
Bolus Feeding

Since each child and adult that are g-tube dependent have different issues, I caution you to check with your doctor before changing a feeding regimen and, if you get the ok to to try this, add small amounts at first and watch for adverse effects.  I do not recommend making this smoothie with anything else but a Vitamix.  The Vitamix blends the greens so finely that there are little or no leave particles to get caught in the filter of the feeding bag.  If the filter gets clogged that feeding stops and the alarm goes off.  It’s less of a problem for bolus feeding but, if there is difficulty in breaking down solids, it could cause issues. All of the ingredients are added to the Vitamix container by weight. That way there is no measuring so it comes out the same every time. It also makes for a quicker blend. Just put the Vitamix container on a food scale and add the ingredients. No more measuring cups and spoons to wash.

Ingredients:

  • 3oz + 5oz of peppermint or chamomile tea
  • 6oz of greens (your choice)
  • 2oz of fresh Aloe Vera gel (optional)
  • 3oz avocado (or 2oz of avocado + 4 tsp of organic olive oil)
  • 1oz Organic apple cider vinegar
  • 8oz DIY “Ripple” (split pea milk)

Directions:

  1. In the 32oz Vitamix container add 3oz of the tea, the greens, the Aloe Vera gel (if you are using it) and the avocado and secure the lid.
  2. Select variable 1.
  3. Turn the machine on and quickly increase the speed to variable 10, then to High.
  4. Blend for 1 minute.
  5. Turn the machine off, return the switch setting to Variable and the dial setting to 1 then remove the lid.
  6. Add the remaining 5oz of tea, the vinegar and the DIY “Ripple” (split pea milk) and secure the lid.
  7. Turn the machine on and increase the speed to Variable 6 and blend for 10-20 seconds or until all the ingredients are combined.

Makes 2 14oz smoothies. Matthew’s night feeding is 500mls so I rinse the container with enough filtered water and add it to the feeding bag to ensure he gets the full dose. I have also added 1 tsp of fresh pureed ginger when Matthew’s stomach was more upset than usual.  Feel free to experiment with different greens.  Sometimes I will buy the large bag of Power greens or spinach from Costco along with Romaine lettuce hearts.  I also keep a close eye on the local farmer’s market for greens that are on sale.  Parsley is great because it helps settle the stomach.

Hemp Milk

  • Servings: 8
  • Difficulty: Very Easy
  • Print

Hemp milk is by far the easiest dairy milk substitute.  There is no cooking and, with the Vitamix, there is no need to run it through a filtration bag unless it is being given through a gastric tube.  It is very calorie dense with lots of protein.  It tastes great as is but I’ve added a couple of ingredients for folks who like their milk substitutes a little sweeter.

Ingredients

  • 4oz (114g) hemp hearts
  • 1 1/2 cups of water
  • 4 Organic Medjool dates-pitted (about 1-1.5oz)
  • 2 cups of water
  • 2 teaspoons of vanilla

Directions

  1. Place hemp hearts, dates and 1 1/2 cups of water into the Vitamix into the 32oz container and secure lid.
  2. Select Variable 1.
  3. Turn machine on and quickly increase speed to Variable 10, then to High.
  4. Blend for 30-40 seconds.
  5. Turn machine off and remove lid.
  6. Add the remaining 2 cups of water and the vanilla and secure lid.
  7. Select Variable 1.
  8. Turn machine on and blend for 10 seconds.

Strained Hemp Milk

Food Tips:

  • If you are buying pitted dates, it is a good idea to slice them lengthwise before putting them in the Vitamix container. This will ensure that no part of the pit was left inside during processing at the plant.  I have yet to find any literature that says they are dangerous but the pieces can clog g-tubes.  Even if a piece gets through it could cause problems in the GI tract of someone who already has difficulty processing solid food.
  • If you have time, soak the dates and hemp seed for 30 minutes before blending.  This reduces the amount of sediment and drastically reduces the need for straining or filtering. NOTE: IF THE MILK IS TO BE USED IN ANY TYPE OF GASTRIC TUBE, STRAINING OR FILTERING IS NECESSARY.
  • Store hemp seed in a mason jar.  It is easier to pour the seed into the Vitamix container than to scoop it out of a container with a spoon.  Also, store the seeds in the refrigerator.  Hemp seed is high in fat so they can go rancid quickly especially if you live in a hot/humid climate region.
  • One cup of fresh hemp seed milk has about  194 calories.  It has 10 grams of protein and 14 grams of fat so, unless you have a high caloric need, I suggest sticking to the 1/2 cup serving size.  Hemp milk will stay fresh in the refrigerator for 3-4 days.  Drink it straight or add it to smoothies.  It is also a great base for blenderized meals.
  • As with all “Super Foods” take the time to research and steer clear of the idea that “if less is good, more is better.”  This is very important if you are dealing with specialized or restricted diets, on medications or have various health conditions.


Time Tip:  Freeze any portion of the milk that will not be used in 3-4 days in ice cube trays.  Store the cubes in labeled and dated freezer bags for up to 6 months.  Since each cube is about an ounce, you can quickly grab what you need without wasting any.


Money tip:  Shop around before buying hemp hearts.  They can run as high as 12 dollars a pound in some stores and on line.  Winco has the lowest price at $7.02 a pound.  They can be found in the bulk food section for much less than the prepackaged bags.  It is good to alternate seed/nut milks.  If you are on a tight budget, alternate the types of nut/seed/bean milks you make to save money.  This is also important especially for individuals on blenderized diets to insure balanced nutrition.

The Poopinator

The Poopinator was lovingly named for it’s ability to move “mountains” (insert laughter)! I had reached the end of my rope, tied a knot and was hanging on for dear life when the knot unraveled. Matthew’s KUB showed that he was backed up again and the GI wanted me to do another “clean out”.  Matthew does not suffer from constipation in the typical sense (hard stools).  He suffers from slow transit constipation and lack of sensation so he can’t feel when he has to go and I wanted him off Miralax. We had done it before (more times than I care to remember) but this time was particularly bad. Needless to say I (and I’m sure Matthew) had had enough so I reached out to my Facebook group, “Blenderized RN” for help. I got lots of suggestions for foods that work as laxatives. I tried several individually but they didn’t work. So I put on my mad scientists lab coat and glasses and went to work. And so The Poopinator was born!  No more Miralax!

Ingredients

1 once pureed celery* 1 once pureed pumpkin 1 once pureed butternut squash 1 once pureed papaya

Directions

  1. Combine all ingredients in a bowl or small jar and stir.
  2. Using a 60cc syringe, draw up mixture making sure to expel any air bubbles.
  3. Give bolus at a rate that is comfortable for your child.  For example, Matthew does well if I give 20mls at a time and wait 5 minutes in between.
  4. Finish with a water flush.  Use whatever volume your child can handle.  I use 15ccs because Matt can handle it.

If 1 once of each item is too much volume, you can cut them in half. You can also start with only 1 item and see how it works before adding another.For convenience I blend the ingredients separately, freeze them in ice cube trays and store them in labeled and dated freezer bags. That way you use exactly as much of each ingredient without wasting any. Because he gets his bolus in the afternoon, I take out the cubes I want in the morning, put them in a small mason jar and let them defrost in the refrigerator. Be sure to warm the jar slightly before giving the bolus so you don’t end up with an upset stomach.  If this recipe doesn’t do the trick, try The Poopinator Plus. 

Here are some other foods that can have a laxative effect: Prunes or prune juice, *fresh spinach, black strap molasses, peaches, pears,pineapple, orange, apricots, plums, blueberries, soaked raisins, flax seed and flax seed oil, hemp seed and hemp milk, Aloe juice and fresh Aloe Vera,coconut oil, dried dates, dried figs and sweet potatoes.

Since everyone’s system is different, some things may work too well (causing diarrhea) and some not at all. It can be frustrating but don’t give up. Try foods independently or, like I did, create your own cocktail. Like any good recipe, just remember to write it down so the items and amounts stay consistent.

*Be careful not to use too much fresh spinach.  The iron in it can be counterproductive if not constipating.

*The key to blending fresh celery is volume when using the Vitamix. I fill the 48oz container to the “max” line, use the tamper to blend it down partially then add more chopped celery. This allows the blades to fully puree the fibers. If you don’t put in enough the celery the water to fiber ratio allows it to slip away from the blades and you end up with fibers that WILL clog the g-tube.  If you have any concerns about this, you should use a fine mess strainer to be sure all of the fibers are removed.

Split Pea Milk

  • Servings: 10
  • Difficulty: easy
  • Print

20170219_101215
The first time I had ever heard of this was on a Facebook group called blenderize RN. Having a teenage boy on a blenderized/pureed diet can be difficult at times. Because of his complicated GI tract and minimal oral experience, it’s hard finding things he can and will eat without slowing his digestion down. Since Matthew drinks his formula, I wanted to increase his calories and protein without adding more formula but do it in such a way as to not upset his very restricted palate. Enter “Ripple” (aka split pea milk). Since everything I blend for him is homemade, I thought I would try making it myself. I added 1 cup to his normal formula recipe and he didn’t even notice. It was so easy and inexpensive, I just had to share.

Ingredients

  • 1 1/2 cups of cooked yellow split peas
  • 3 1/2 cups of water
  • 2 tsp vanilla (optional)
  • 4 pitted dates

Directions

  1. In a medium size sauce pan, bring 1 cup of dry yellow split peas and 4 cups of water to a boil.  Boil for 10 minutes on high then reduce temperature to simmer and cook until peas are soft (about hour).  Do not drain the peas before adding them to the Vitamix.  Because the peas settle, you will want to sir the pot before measuring them out.
  2. In the large Vitamix container, add ingredients in the order listed and secure lid.
  3. Select Variable 1.
  4. Turn machine on and increase speed to Variable 10, then High.
  5. Blend for 1 minute or until completely smooth.
  6. Remove milk from blender and repeat steps 2-5 with remaining peas.

Food Tip: This recipe makes a total of 10 cups of milk.  Ripple is made in a factory with added oils and gums that are not in my homemade recipe.  The oils and gums allow the milk to stay in solution.  Even when using the Vitamix and a filtration bag, homemade milks will separate and need to be shaken before drinking or using in a recipe.  They have also reduced the peas to pea protein and removed the pea flavor.  If you are used to drinking the store bought Ripple, this may be a jump for you.  It is thick so if you plan on drinking it, you may want to thin it out a bit.  You can also run it through a filtration bag to remove more of the solids.  With 75 calories per cup and 8 grams of protein, it makes an excellent addition to a blended diet.  It can also easily replace cows milk in baking for those who have a dairy free diet.  Milk will stay fresh in the refrigerator for about 4 days.  For oral eaters, please check out my DIY Ripple Milk post.  If you are already a Ripple drinker, you may want to read How Is Ripple Milk Made? before you try to make it.  It will explain the difference.

Time Tip:  Make the full batch and freeze extra milk in ice cube trays then store in labeled and dated freezer bags.  Each cube is about 1 once making measuring a  breeze.

Money Tip: One pound of dry split peas cost around 70 cents a pound at bulk food stores like Winco.  Ripple milk runs about $4.99 for 48oz.  Since I only used 1 cup of dried beans, I made 80oz for only 33 cents!

Raw Coconut Milk

  • Servings: 8
  • Difficulty: easy
  • Print

coconut-milk-2

When I was a little girl growing up in Massachusetts, one of my favorite memories was making coconut beans and rice with my grandma. It was an old family recipe from Jamaica that was made during the holidays. When we were making it, the wonderfully sweet smell of fresh coconut filled the house. I can remember sitting at the kitchen table with a cheese grater grating the coconut meat by hand and placing it on cheese cloth. I can also remember the stern look I got from her when she caught me sneaking a piece to nibble on. It was my dad’s job to “milk” the coconut. The cheese cloth containing the shredded coconut was tied and placed in a pot of boiling water for 20 minutes then squeezed and measured. My dad was the only one tough enough to handle the job. All of this took lots of time but the final dish was like no other. It was a labor of love so we didn’t mind.

Fast forward to the present. Because of the Vitamix, I can make fresh coconut milk in a fraction of the time, no scraped knuckles from the grater, with less mess and nary a burn from scalding water.

Ingredients

Prepare fresh coconut

6oz fresh coconut meat

4 cups of water (total)


Directions

  1. Place coconut meat into the container and secure lid.
  2. Select Variable 1.
  3. Turn machine on and quickly increase speed to Variable 10, then High.
  4. Blend for 30 seconds or until a fine mash is formed using the tamper to press the coconut meat into the blades.
  5. Turn machine off, remove lid, scrape container with a Vitamix spatula, add 2 cups of the water and replace the lid.
  6. Select Variable 1.
  7. Turn machine on and quickly increase speed to Variable 10, then to High.
  8. Blend for 1 minute then pour contents into a Vitamix filtration bag to extract the milk.
  9. Return the mash in the filtration bag to the Vitamix container and add the remaining 2 cups of water.
  10. Repeat steps 6-8.

Food Tip: Save the coconut water extracted prior to removing the meat from the shell to drink separately.  Coconut milk is VERY high in fat calories so watch how much you drink (about 256 calories per 4oz serving). It is an excellent way to boost the calories in a blenderized or pureed diet for people with volume intolerance. Raw coconut milk will only stay fresh in the refrigerator for 4-5 days so freeze any unused milk and/or coconut water in ice-cube trays and store in dated labeled freezer bags. Always test for allergies by giving a small amount (1-2 tsp) over the course of 4-7 days.

Time Tip: Coconuts typically contain 12-14 oz of meat. Freeze any unused meat in a dated and labeled freezer bag for future use.

Money tip: Coconuts are less expensive during the holidays so stock up, process and save.

For more information on picking and processing fresh coconuts, please see my blog post on that topic.