Category Archives: Pureed

Oral spoon feeding

Fig Butter

Fig Butter

  • Servings: 16
  • Difficulty: easy
  • Print
Fig Butter (5)

This was an unexpected surprise!  I was originally trying to add more fiber to the Poopinator Plus because we are still waiting on a referral to UCLA Children’s Hospital for a more in depth motility.  I also thought it would help his weight loss issue due his currently very limited diet.  Sadly the fig gave him too much gas so I had to pull it out.  But, as always, I try all of his blends to make sure they taste good and this was amazing!  So far, with only 2 calorie dense ingredients an zero prep time this is by far the easiest, highest fiber calorie booster I have made to date.

Ingredients

-8oz Hemp Milk

-8oz Dried Adriatic Figs

Directions

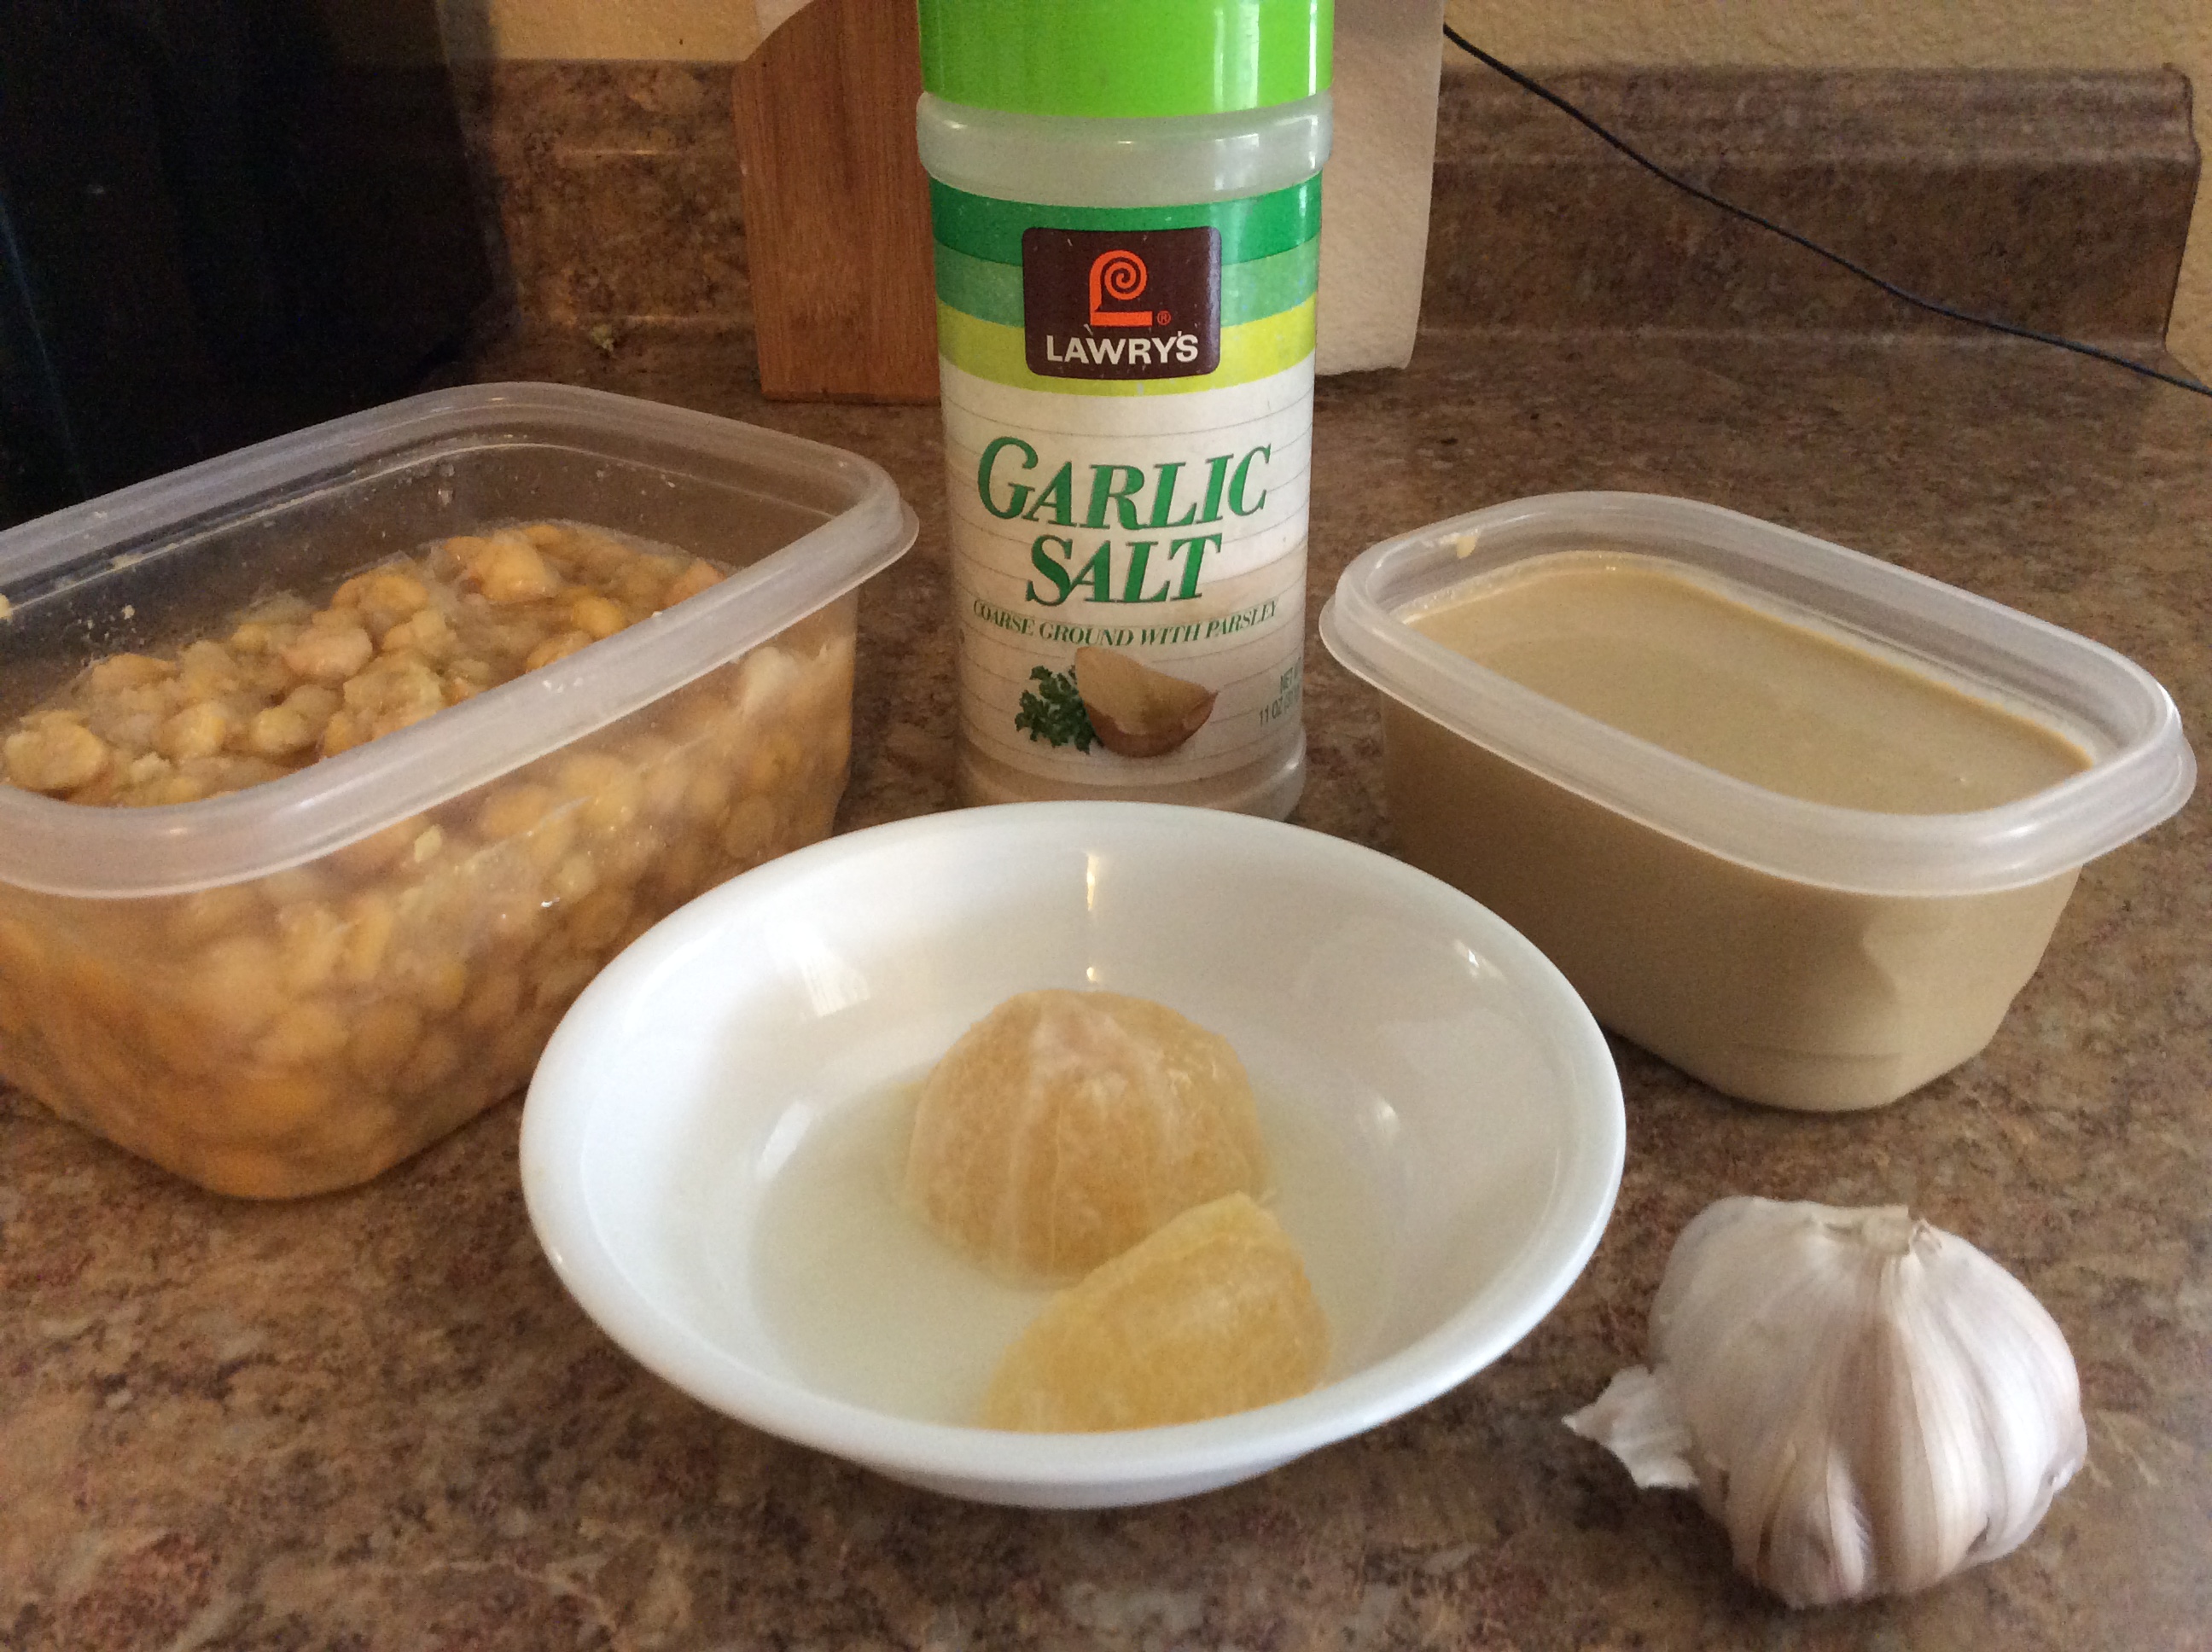
  1. Place the ingredients to the 32oz  Vitamix container in the order listed and secure lid.
  2. Let sit for 20 minutes to soften the figs.
  3. Select Variable 1.
  4. Turn machine on and quickly increase speed to Variable 10, then to High.
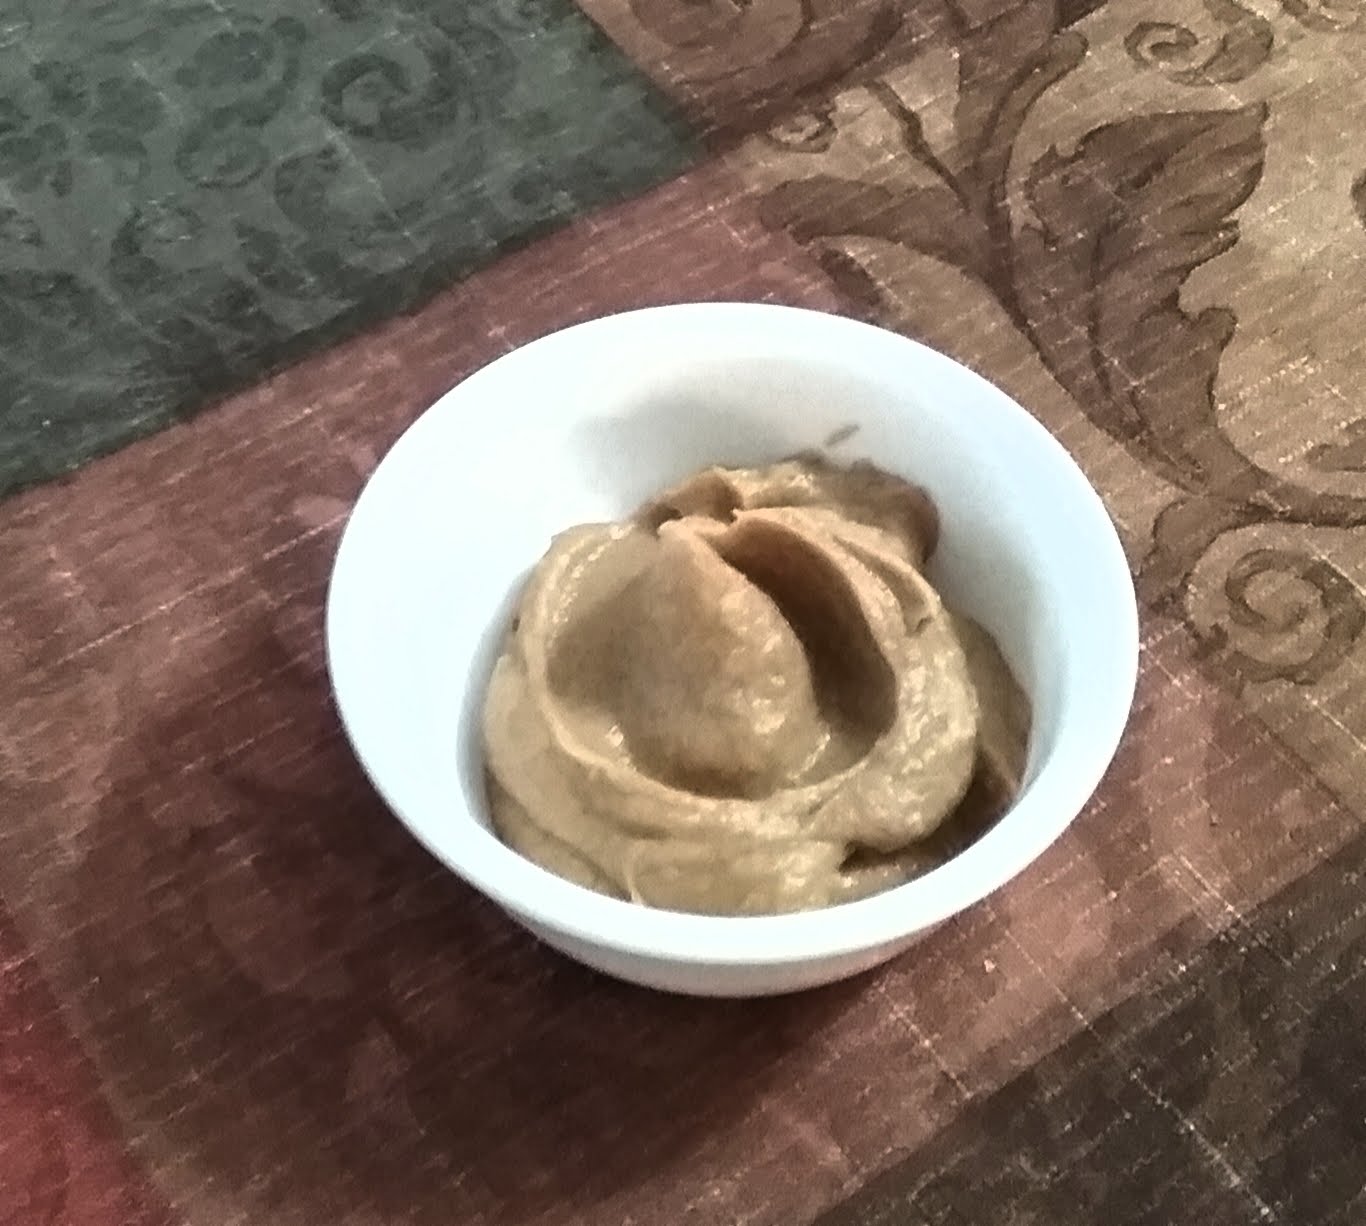
  5. Blend until completely smooth (approximately 1-2 minutes), using the tamper to press the ingredients into the blades.

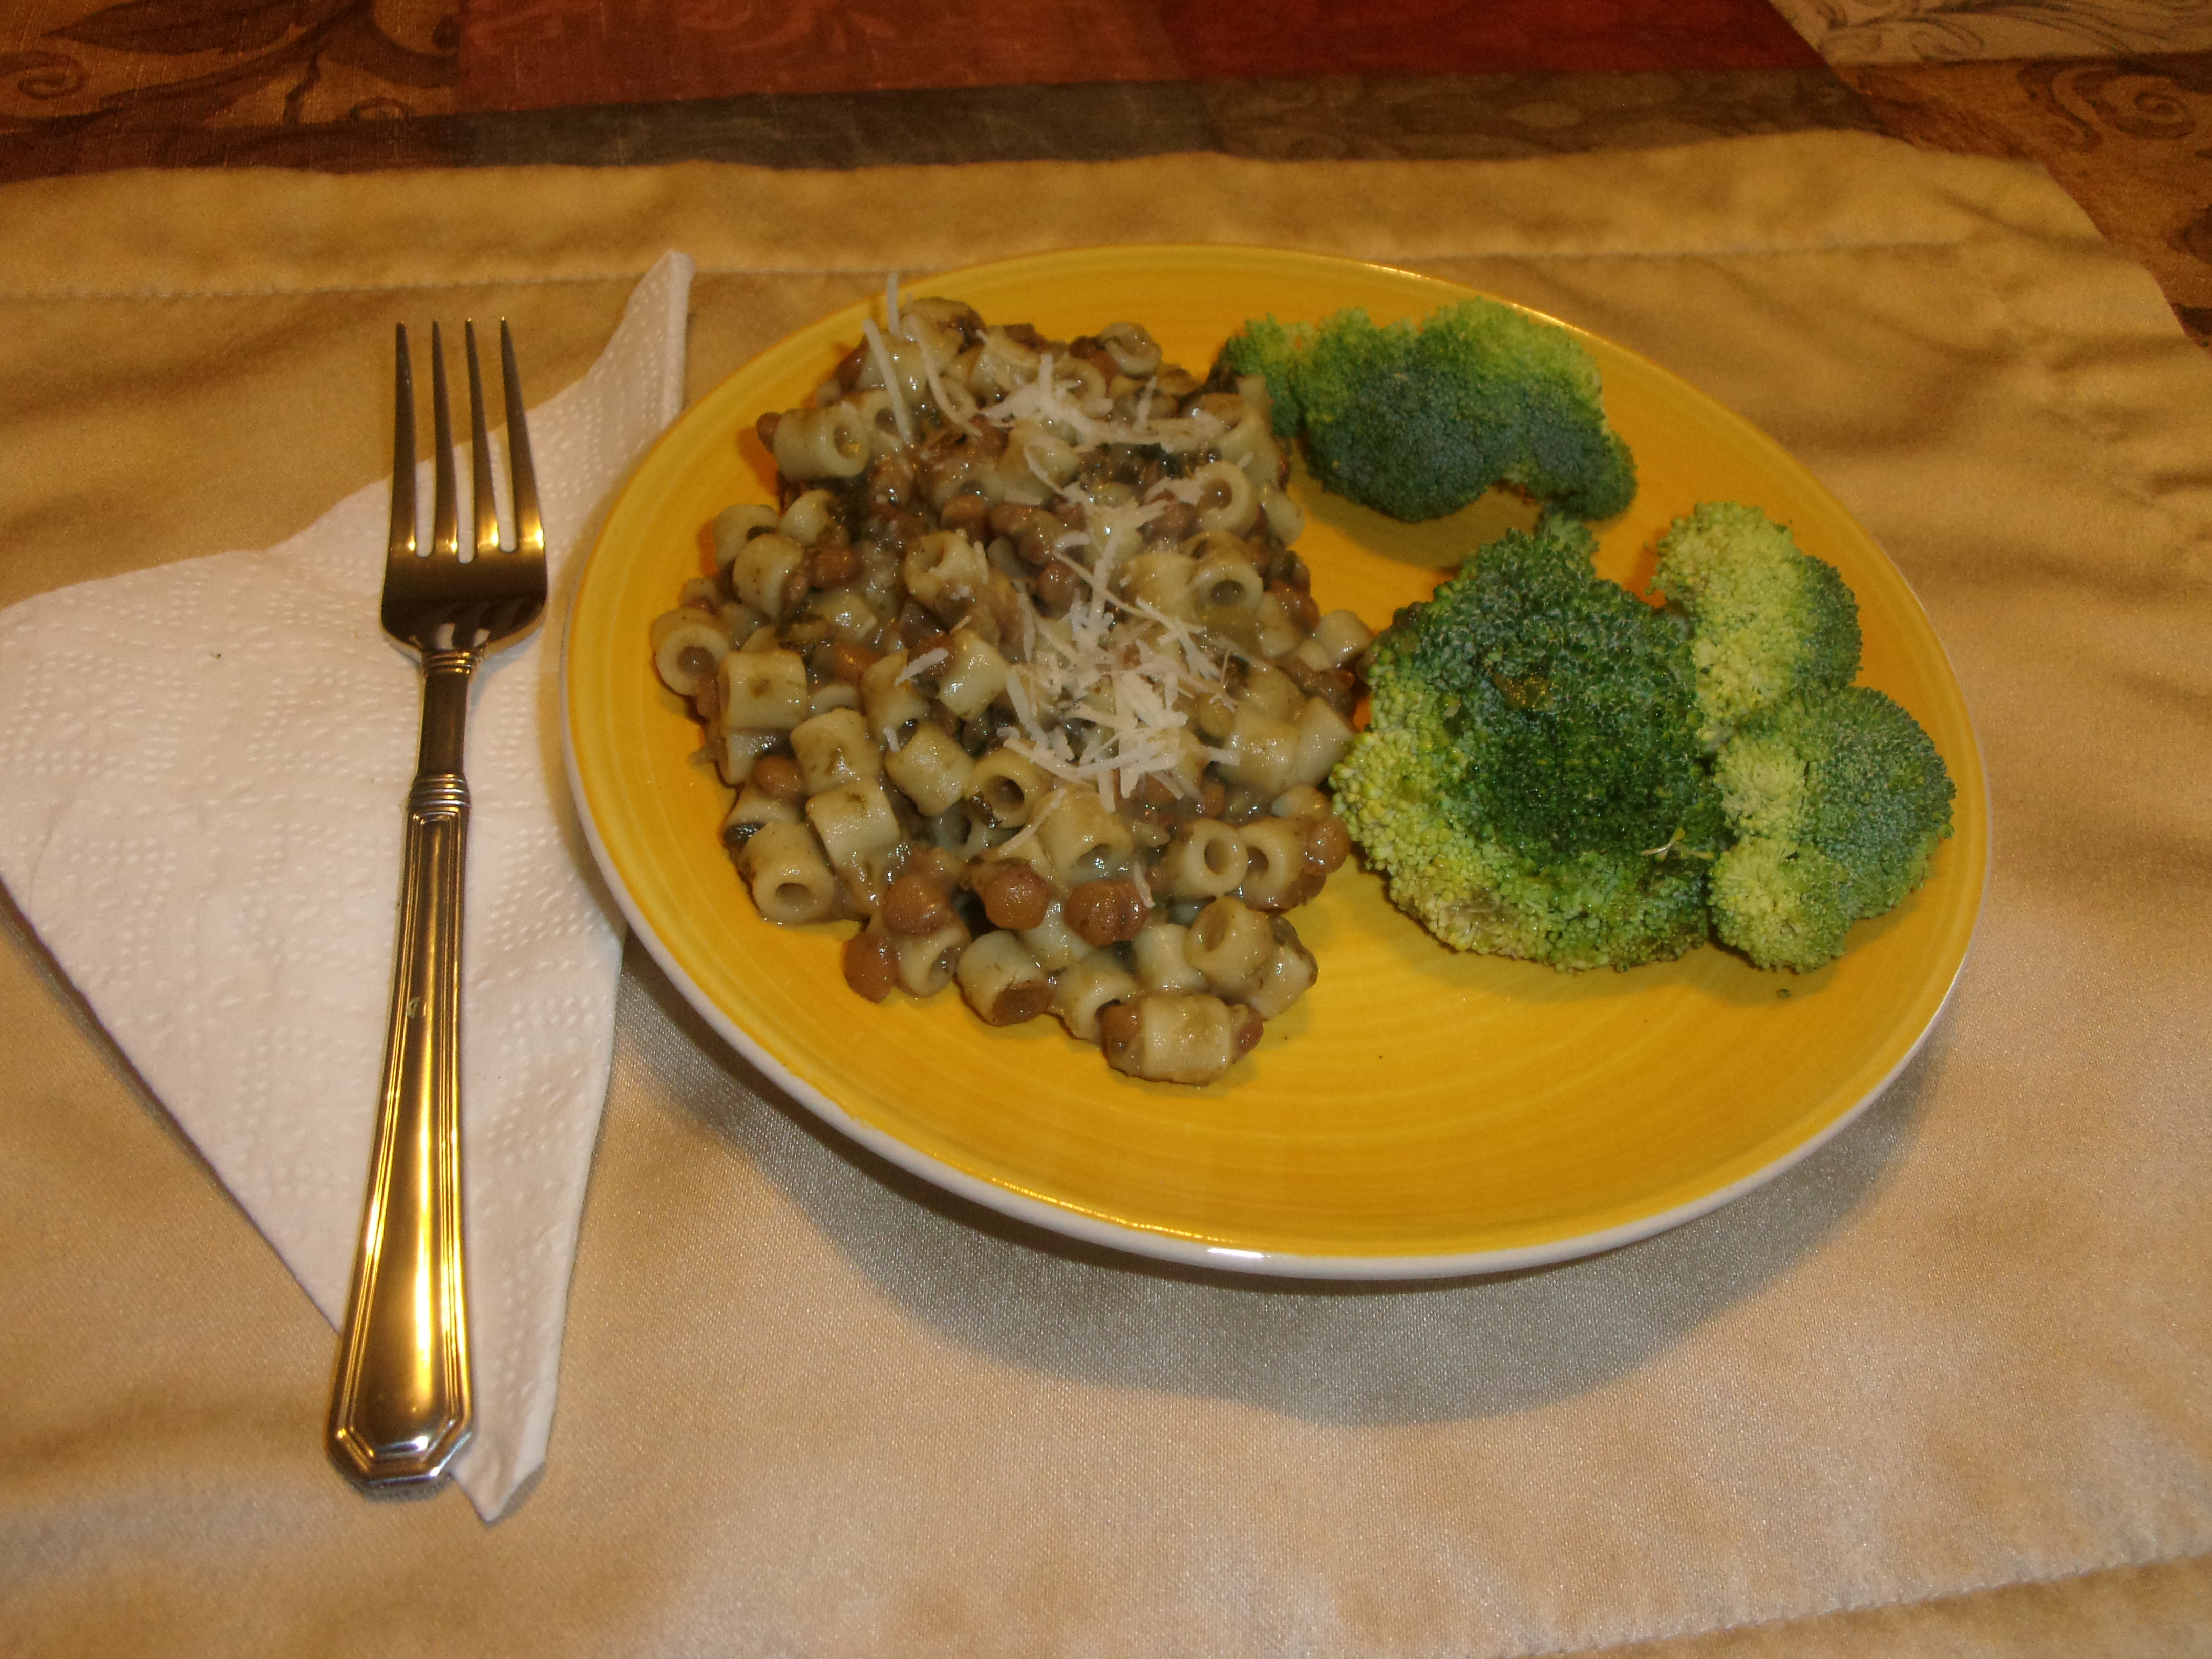
Food Tips:  This recipe packs 56.8 calories per 1 ounce serving.  That makes it a good calorie booster without added sugars and/or syrup.  Because it’s important for oral eaters, I always taste my recipes.  This tastes amazing on toast (as seen in the picture).  By itself it’s pretty sweet but added to other pureed dessert or snack recipes, I think it would tastes great.

Time tip:  Freeze this butter in ice cube trays then pop them out into freezer bags for easy storage and quick defrost.

Money Tip:  As with most of my ingredients, the figs and hemp seed are best purchased at a bulk food store  like Winco.  The prices are always much lower and you can by just what you need so there’s no waste.

Chia Seed Pudding

One thing about fresh coconut milk:  It only lasts about 4-5 days in the refrigerator.  So once you make it , you will want to get the most out of your fresh batch before you have to freeze what’s left.  Since I already have the chia seeds out when I’m making Matt’s oatmeal,  I always make some chia seed pudding. This is one of my favorite snacks and it’s easy to make.

  • 2 Tablespoons of Chia seeds
  • 1/2-2/3 cup of fresh coconut milk

Directions:

Put the Chia seeds in a small mason jar.  Add the coconut milk and stir until they begin to absorb enough of the milk to be suspended.  Cover and refrigerate for 1 hour.  The Chia seed pudding is good for about 4 days but, I guarantee that it won’t last that long.  Enjoy! Makes 2 servings.

Food Tip:  This snack is high in protein but also high in fat.  Eat it sparingly especially if you are making your own coconut milk.

Time Tip:  Freeze the coconut meat in 6oz portions.  When it’s time to make your milk just defrost and blend.

Money Tip:  Coconuts are not that expensive.  They tend to run about $2 but the price drops around Thanksgiving and Christmas.


Raw Coconut Milk

  • Servings: 8
  • Difficulty: easy
  • Print

coconut-milk-2

When I was a little girl growing up in Massachusetts, one of my favorite memories was making coconut beans and rice with my grandma. It was an old family recipe from Jamaica that was made during the holidays. When we were making it, the wonderfully sweet smell of fresh coconut filled the house. I can remember sitting at the kitchen table with a cheese grater grating the coconut meat by hand and placing it on cheese cloth. I can also remember the stern look I got from her when she caught me sneaking a piece to nibble on. It was my dad’s job to “milk” the coconut. The cheese cloth containing the shredded coconut was tied and placed in a pot of boiling water for 20 minutes then squeezed and measured. My dad was the only one tough enough to handle the job. All of this took lots of time but the final dish was like no other. It was a labor of love so we didn’t mind.

Fast forward to the present. Because of the Vitamix, I can make fresh coconut milk in a fraction of the time, no scraped knuckles from the grater, with less mess and nary a burn from scalding water.

Ingredients

Prepare fresh coconut

6oz fresh coconut meat

4 cups of water (total)


Directions

  1. Place coconut meat into the container and secure lid.
  2. Select Variable 1.
  3. Turn machine on and quickly increase speed to Variable 10, then High.
  4. Blend for 30 seconds or until a fine mash is formed using the tamper to press the coconut meat into the blades.
  5. Turn machine off, remove lid, scrape container with a Vitamix spatula, add 2 cups of the water and replace the lid.
  6. Select Variable 1.
  7. Turn machine on and quickly increase speed to Variable 10, then to High.
  8. Blend for 1 minute then pour contents into a Vitamix filtration bag to extract the milk.
  9. Return the mash in the filtration bag to the Vitamix container and add the remaining 2 cups of water.
  10. Repeat steps 6-8.

Food Tip: Save the coconut water extracted prior to removing the meat from the shell to drink separately.  Coconut milk is VERY high in fat calories so watch how much you drink (about 256 calories per 4oz serving). It is an excellent way to boost the calories in a blenderized or pureed diet for people with volume intolerance. Raw coconut milk will only stay fresh in the refrigerator for 4-5 days so freeze any unused milk and/or coconut water in ice-cube trays and store in dated labeled freezer bags. Always test for allergies by giving a small amount (1-2 tsp) over the course of 4-7 days.

Time Tip: Coconuts typically contain 12-14 oz of meat. Freeze any unused meat in a dated and labeled freezer bag for future use.

Money tip: Coconuts are less expensive during the holidays so stock up, process and save.

For more information on picking and processing fresh coconuts, please see my blog post on that topic.

Basic Blend

This is one of those “what we had for dinner” blends.  The picture and the recipe are spoon thick because it can just as easy be used for someone on a pureed diet.  To make it thinner for bolus or pump feeding, just add more turkey stock or bone broth if you happen to have some.  You may notice that the stock is green.  That’s because I blended the meal right after I had made a green smoothie.  By not washing out the container, I saved time and water.  Plus all of the extra nutrients from the green smoothie are now in the dinner blend!

1/2 cup of turkey or chicken stock

2 cups steamed or raw broccoli

1/2 cup brown rice

6oz (approx. 1 cup) cooked turkey or chicken

  1. Place all ingredients in the container in the order listed and secure lid.
  2. Select Variable 1.
  3. Turn machine on and quickly increase speed to variable 10, then to High.
  4. Blend for 1 minute, using the tamper to press the ingredients into the blades.

Food tip: This recipe is great for starting out.  None of the ingredients are commonly associated with food allergies.  Raw broccoli is a little harder to digest so, if the blend causes gas, steam the broccoli first.

Time Tip: If you are blending for a little one, freeze the blend in ice cube trays for quick easy 1 oz portions.  Depending on the caloric need, use batch blending and store in feeding specific quantities.

Money Tip:  Buying meat on sale is the best way to save money. For example, I buy an extra turkey during Thanksgiving and keep it in the freezer.  I cook it up some time later as a Sunday dinner, turn some of the leftovers into turkey enchiladas and setting aside at least a cup for blending.  Then I boil the carcass to make a a quick turkey stock or, if I have time, turkey bone broth.  Also, buy broccoli in bulk at a club store.  Use as much fresh as you can eat in 4 days and steam the remainder before freezing in 1-2 cup portions for later use.


Pureed Fresh Ginger

  • Difficulty: easy
  • Print

Time to toss the grater, folks!  This is the fastest and easiest way to process ginger.

Ingredients


3 cups of fresh ginger root

Directions

  1. Wash (no need to peel) and cut 2-3 cups of fresh ginger root.
  2. Place into Vitamix container and secure lid.
  3. Select Variable 1 and turn machine on.
  4. Quickly increase speed to variable 10, then High.
  5. Using the tamper, press the ginger into the blades and blend for 1-2 minutes or until completely smooth.

Food Tip:  As most of us know, ginger root makes an excellent tea and seasoning for a wide variety of dishes.  When using it in tea, make sure to stir occasionally.  Mixed in, the particles go unnoticed. But, if you leave it sitting and then drink it, you will find that the particles settle to the bottom making your last sip pretty grainy.

Time Tip: Freeze ginger puree in “mini cube” ice cube trays and store them in labeled freezer bags.  Each cube is about 1/2 teaspoon so there no guessing when it comes to measurements.  Don’t bother peeling it.  The Vitamix is powerful enough to blend the root and the skin so smooth that there are no fibrous strands in the puree.  Plan ahead and keep some on hand in the refrigerator for easy mixing.

Money Tip:  I looked up Ginger puree on line and it was going for $9 a pound.  Fresh ginger root runs about $6-7 .  Because of its strong flavor, only a small amount is needed.  Keeping it in the freezer means less waste in the refrigerator and the convenient cubes are ready when you are.

Sunrise Green Smoothie

This makes for a great eye opener but It’s refreshing any time of day.

Sunrise Green Smoothie

1 cup water

1cup romaine lettuce

1 cup fresh spinach

thin slice of fresh lemon (including the peel)

4 frozen pineapple cubes (or 4oz frozen pineapple)

2 frozen mango cubes (or 2oz frozen mango)

1 Stevia packet (or more to taste)

  1. Placed all into the Vitamix container in  the order listed and secure lid.
  2. Select Variable 1.
  3. Turn machine on and quickly increase speed to Variable 10, then to High.
  4. Blend for 1 minute or until desired consistency is reached.  Use the tamper if needed to push the ingredients into the blades.

Food Tip:  Any of your favorite greens will work in this smoothie.  Spinach and romaine lettuce are good starters for the novice green smoothie drinker because the fruit masks the taste of the greens.  As you get more accustomed to the taste, try removing the Stevia and some of the fruit.  That will retrain your palate into not always needing food to be sweet to taste good.

Time Tip:  As with my other smoothie recipes, I save time by pureeing the fruit and freezing them in ice cube trays.  No need to separate large chunks of frozen fruit. Also, I can add exactly the desired amount of fruit keeping the flavor just like I like it or give me option to change it up a bit.

Money Tip:  Buy your greens at a food warehouse such as Costco or Sam’s Club.  As soon as you open the bags, fill  gallon-sized freezer bags, label and date them, then put them straight into the freezer.  Use up the fresh greens in the refrigerator then begin using the frozen greens.  No more tossing half of your greens in the trash 3 days after you bring the home and running out to by more.  No waste ALWAYS means more money in your pocket.

Hummus

Hummus

2 cups cooked chick peas (according to the package)
¼ -½ cup bean liquid
3oz (1/3 cup) tahini (see recipe)
¼ cup olive oil
¼ cup of lemon juice or a 2oz peeled section of lemon
2-3 cloves of garlic
1-3 tsp garlic salt

Hummus prep

1. Place all ingredients into the Vitamix container in the order listed and secure lid.
2. Select Variable 1.
3. Turn machine on and quickly increase speed to Variable 10, then to High.
4. Blend for 1 minute using the tamper to press the ingredients into the blades (if necessary).

Food Tip: Hummus is an Arabic word meaning chickpeas or garbanzo beans. The complete name of the prepared spread in Arabic is hummus bi tahini. So can you make hummus without tahini? Yes but, in my opinion, the flavor is lacking. Tahini is roasted sesame seeds that are blended to the consistency of creamy peanut butter. Eaten by itself, it has a rich nutty flavor. If you buy it in the jar it tends to have a bitter aftertaste. Blended with the chick peas it gives life and body to the spread. Traditionally, hummus is the consistency of yogurt but add the liquid to make it as thin or thick as you desire. Serve with fresh veggies, pita chips or as a spread for a pita sandwich or wrap.
Time Tip: 2 cups of sesame seeds makes about 1 cup of tahini. Make it in advance and keep it the refrigerator for future fresh batches. Another time saving technique is to make 3 batches (1 pound of dry beans cooked). Blend each batch individually and freeze them in various size plastic containers. After they are frozen, pop them out into a large Ziploc Freezer bags and store in the freezer for up to 6 months. That way you can defrost as little or as much as you need. Amazingly, it tastes as if it were just made after it’s been defrosted and warmed up a bit.
Money Tip: Buying dry beans is always less expensive (and tastes better) than canned beans. Making your own tahini in your Vitamix is way less expensive (and also tastes better) than buying it in a jar. Last but not least, freezing your hummus not only saves time but money. You only defrost what you plan to use in the next 3-4 days so there is none to throw away.

Tahini

Tahini

12oz (about 2 ½ cups) of raw sesame seeds
1-2 tablespoons olive oil

Tahini prep

Toasted sesame seeds: Preheat oven to 350 degrees. Place sesame seeds on a cookie sheet and bake for 5-10 minutes stirring often. Cool for 15 minutes.

Toasted sesame seeds

1. Place sesame seeds into the Vitamix container and secure lid.
2. Select variable 1.
3. T urn machine on and quickly increase speed to Variable10, then high.
4. Blend for 1 minute using the tamper to press the mixture into the blades.
5. Remove the lid plug and add olive oil 1 tablespoon at a time until the mixture is smooth and has the consistency of a thick liquid.

Food Tip: Be sure not to overcook the seeds because the tahini will taste burnt. They will not be brown when they are done. You will barely see a color change.

Time Tip: Use foil on your cookie sheet. Once the seeds are cooled you can lift the sides of the foil and form a tube. Lift the foil and pour directly into the Vitamix container. I have tried pouring the seeds into the container directly from the cookie sheet only to have lots of them all over my counter. Using a spoon takes a long time because the seeds are so small and smooth.

Money Tip: Sesame seeds bought in bulk costs about $1/lb. One 16oz jar of tahini can cost anywhere from $6 to $12!

Pasta and Lentils (Pasta-e-Lenticchie)

This recipe came from our dear friend, Gary Mirabella.  As you can probably tell by his last name he’s Italian so, when he suggested I make this, I had no doubt it was going to taste amazing!  And, as with every recipe he has shared with us, it was.  So try this tonight for dinner and, for those of you with someone restricted to a pureed diet, don’t forget to save some to puree for them!

Pasta Lenticchie
Pasta Lenticchie

1 19oz can of Progresso Lentil soup
1 tablespoon olive oil
1 clove of garlic minced
¼ cup diced onions
1 cup chopped fresh spinach
¼ grated Romano cheese
¼ cup grated Parmesan cheese
1 tsp Italian seasoning
1/8 tsp ground black pepper
8 oz macaroni salad pasta

Directions: In a medium sauce pan sauté the onions until they are translucent. Add in the spinach and garlic and continue to sauté until the spinach is wilted. Over medium heat, add soup, cheeses and seasonings. Stir to combine. When the mixture begins to bubble and the cheeses begin to melt, reduce heat to low and continue to cook stirring occasionally. Meanwhile, cook pasta according to the directions on the package. Drain and add to soup mixture. Top with a sprinkle of Romano and/or Parmesan cheese and serve with a side of fresh steamed vegetables.

 Pureed Dinner

  1. Place 1 cup of Pasta Lenticchie and 1 cup of vegetables into the Vitamix and secure lid.
  2. Select Variable 1.
  3. Turn machine on and increase to Variable 4.
  4. Blend for 15-30 seconds using the tamper to press the ingredients into the blades. Increase speed and liquid as needed to reach the desired texture.


Food tip: When preparing dinners, make sure there are no food allergies to the ingredients. Using canned soup is fine but making your own ensures only the freshest ingredients go into it.

Time Tip: Double the recipe and puree the leftovers in the proportions listed above and freeze in ice cube trays covered in plastic wrap. Store in labeled and dated freezer bags.

Money Tip: Making your own soup from dried lentils saves money. Shop in markets that sell beans in bulk bags or bins. Store dried lentils in airtight bins in a cool dry place.

Nonfried Refried Beans

Non-fried Re-fried Beans

1 lb dried pinto beans
6 cups of water
2 tsp beef bouillon
Salt (to taste)

Quick soak- Place washed and sorted beans and the water into a 3 quart saucepan. Bring to a boil and cook for 10 minutes. Reduce heat to low for 1 hour. After 1 hour stir in the bouillon. Continue cooking the beans for 1-2 hours or until they are tender. Properly cooked beans should easily mash with the back of a spoon. Stir in salt to taste and let stand for 5 minutes. Drain the beans and reserve 1 cup of the broth.

  1. Place 3 cups of drained beans into the Vitamix.
  2. Select variable 1.
  3. Turn machine on and quickly increase speed to Variable 10.
  4. Blend for 30 seconds using the tamper to press the beans into the beans. Add small amounts of the bean broth to reach the desired consistency.
  5. Repeat steps 1-3 until all the beans are pureed.

Food Tip: Use them as a side dish, to make burritos, tostadas or as a base for 9-layered dip. Add them to soups and stews as a natural thickener with the added benefit of adding extra protein.

Savings Tip: Because they are inexpensive, buy beans in bulk and store in a tightly sealed container in a cool, dry place. Under these conditions, dry beans can last up to a year. Also watch for sales in Mexican or farmer’s markets. These markets often have sales that are better than buying pre-packaged beans.

Time Tip: Cooked and pureed beans can keep for up to 6 months in the freezer. Double the recipe and freeze them in 1-3 cup size containers. When defrosted, use within 3 days. If using them as baby food, freeze them in standard ice cube trays covered in plastic wrap. Once frozen, put them into labeled and dated freezer bags for fast, fresh, individual portions.