All posts by The mom doc

Unknown's avatar

About The mom doc

Proverbs 31 wife and mother of 6.

Just Keep Swimming

matt-3-001-2
Matthew at 3 watching “Finding Nemo”

What do you do when you’ve done all that you can and your tubie needs a clean out anyway? All of the blending and adding and removing and…SO MUCH GREEN STUFF! Well… You just keep swimming, right? That’s what Dori did. Yes, finding Nemo is one of Matt’s favorite movies to this day even though He’s now 15. So amid the overwhelming feeling of defeat,exhaustion worry and fear I hear that song ringing in my head. Oh how I wish it were that easy. Matt has had GI troubles since he was 8 months old. I’ve been at this for 15 years. Shouldn’t I be use to the ups and downs of this tubie roller coaster by now?

But, as we all know, that is not the case. Putting up with the pain and discomfort or watching someone you love go through it is never easy.  So whether you are a tubie yourself or the caregiver of a tubie, a newbie tubie or a veteran tubie, please know that you are not alone. Find a support group if you are not in one already. They are indispensable! Where else can you go and talk about poop and vomit as if it were the weather. We get each other. No need to explain, defend or excuse. Just take a breath and…You guessed it! JUST KEEP SWIMMING!

Nooooo!

This slideshow requires JavaScript.

So what do you think happened here?  Was it:

  1. The baby threw up.
  2. The syringe malfunctioned.
  3. The med port popped open.

If you guessed #2, you were right.  Sticky syringes can be annoying if not down right disastrous.  Has it happened to you or is it just me and the mom of this baby?  I have had to clean walls, ceilings and floors because I forced a syringe filled with medication or oils.  You know the drill.  You use a syringe, wash it, let it dry and forget about it until it’s time to reload it.  When bolus feeding a blenderized diet it can cause a sticky syringe within in 1 to 2 uses.  We all know tossing our syringes after so few uses is out of the question. You have to use those syringes 5-6 times a day minimum for up to a week so what do you do?  The answer:  Lubricate the plunger.

I use coconut oil for 2 reasons: 1) It was recommended to me by another Tubie mom and 2) when I used olive oil it still got stuck.  So here’s the process:

  1. Starting with a dry syringe and plunder, dip the plunder into a bowl containing slightly warm coconut oil.
  2. Make sure to coat all surfaces of the plunger.
  3. Insert the plunger into the syringe and move the plunger up and down inside the syringe several times while turning the plunder.
  4. For the 60cc syringe, I sometimes use my finger to lubricate the inside in addition to the plunger.  This is helpful if the blend is fairly thick or the syringe has been reused a number of times.

Now you are ready to load your feeding.  It is very important to give the feeding immediately after loading it. It has been my experience that, if you set the syringe down and come back to it, the plunger will be stuck.  And what happens when you have a syringe full of a blend and you try to force into the extension tube?  Refer to picture 1.

If you are feeding on the go, I suggest you carry the coconut oil with you in a small vial.20170130_091230  
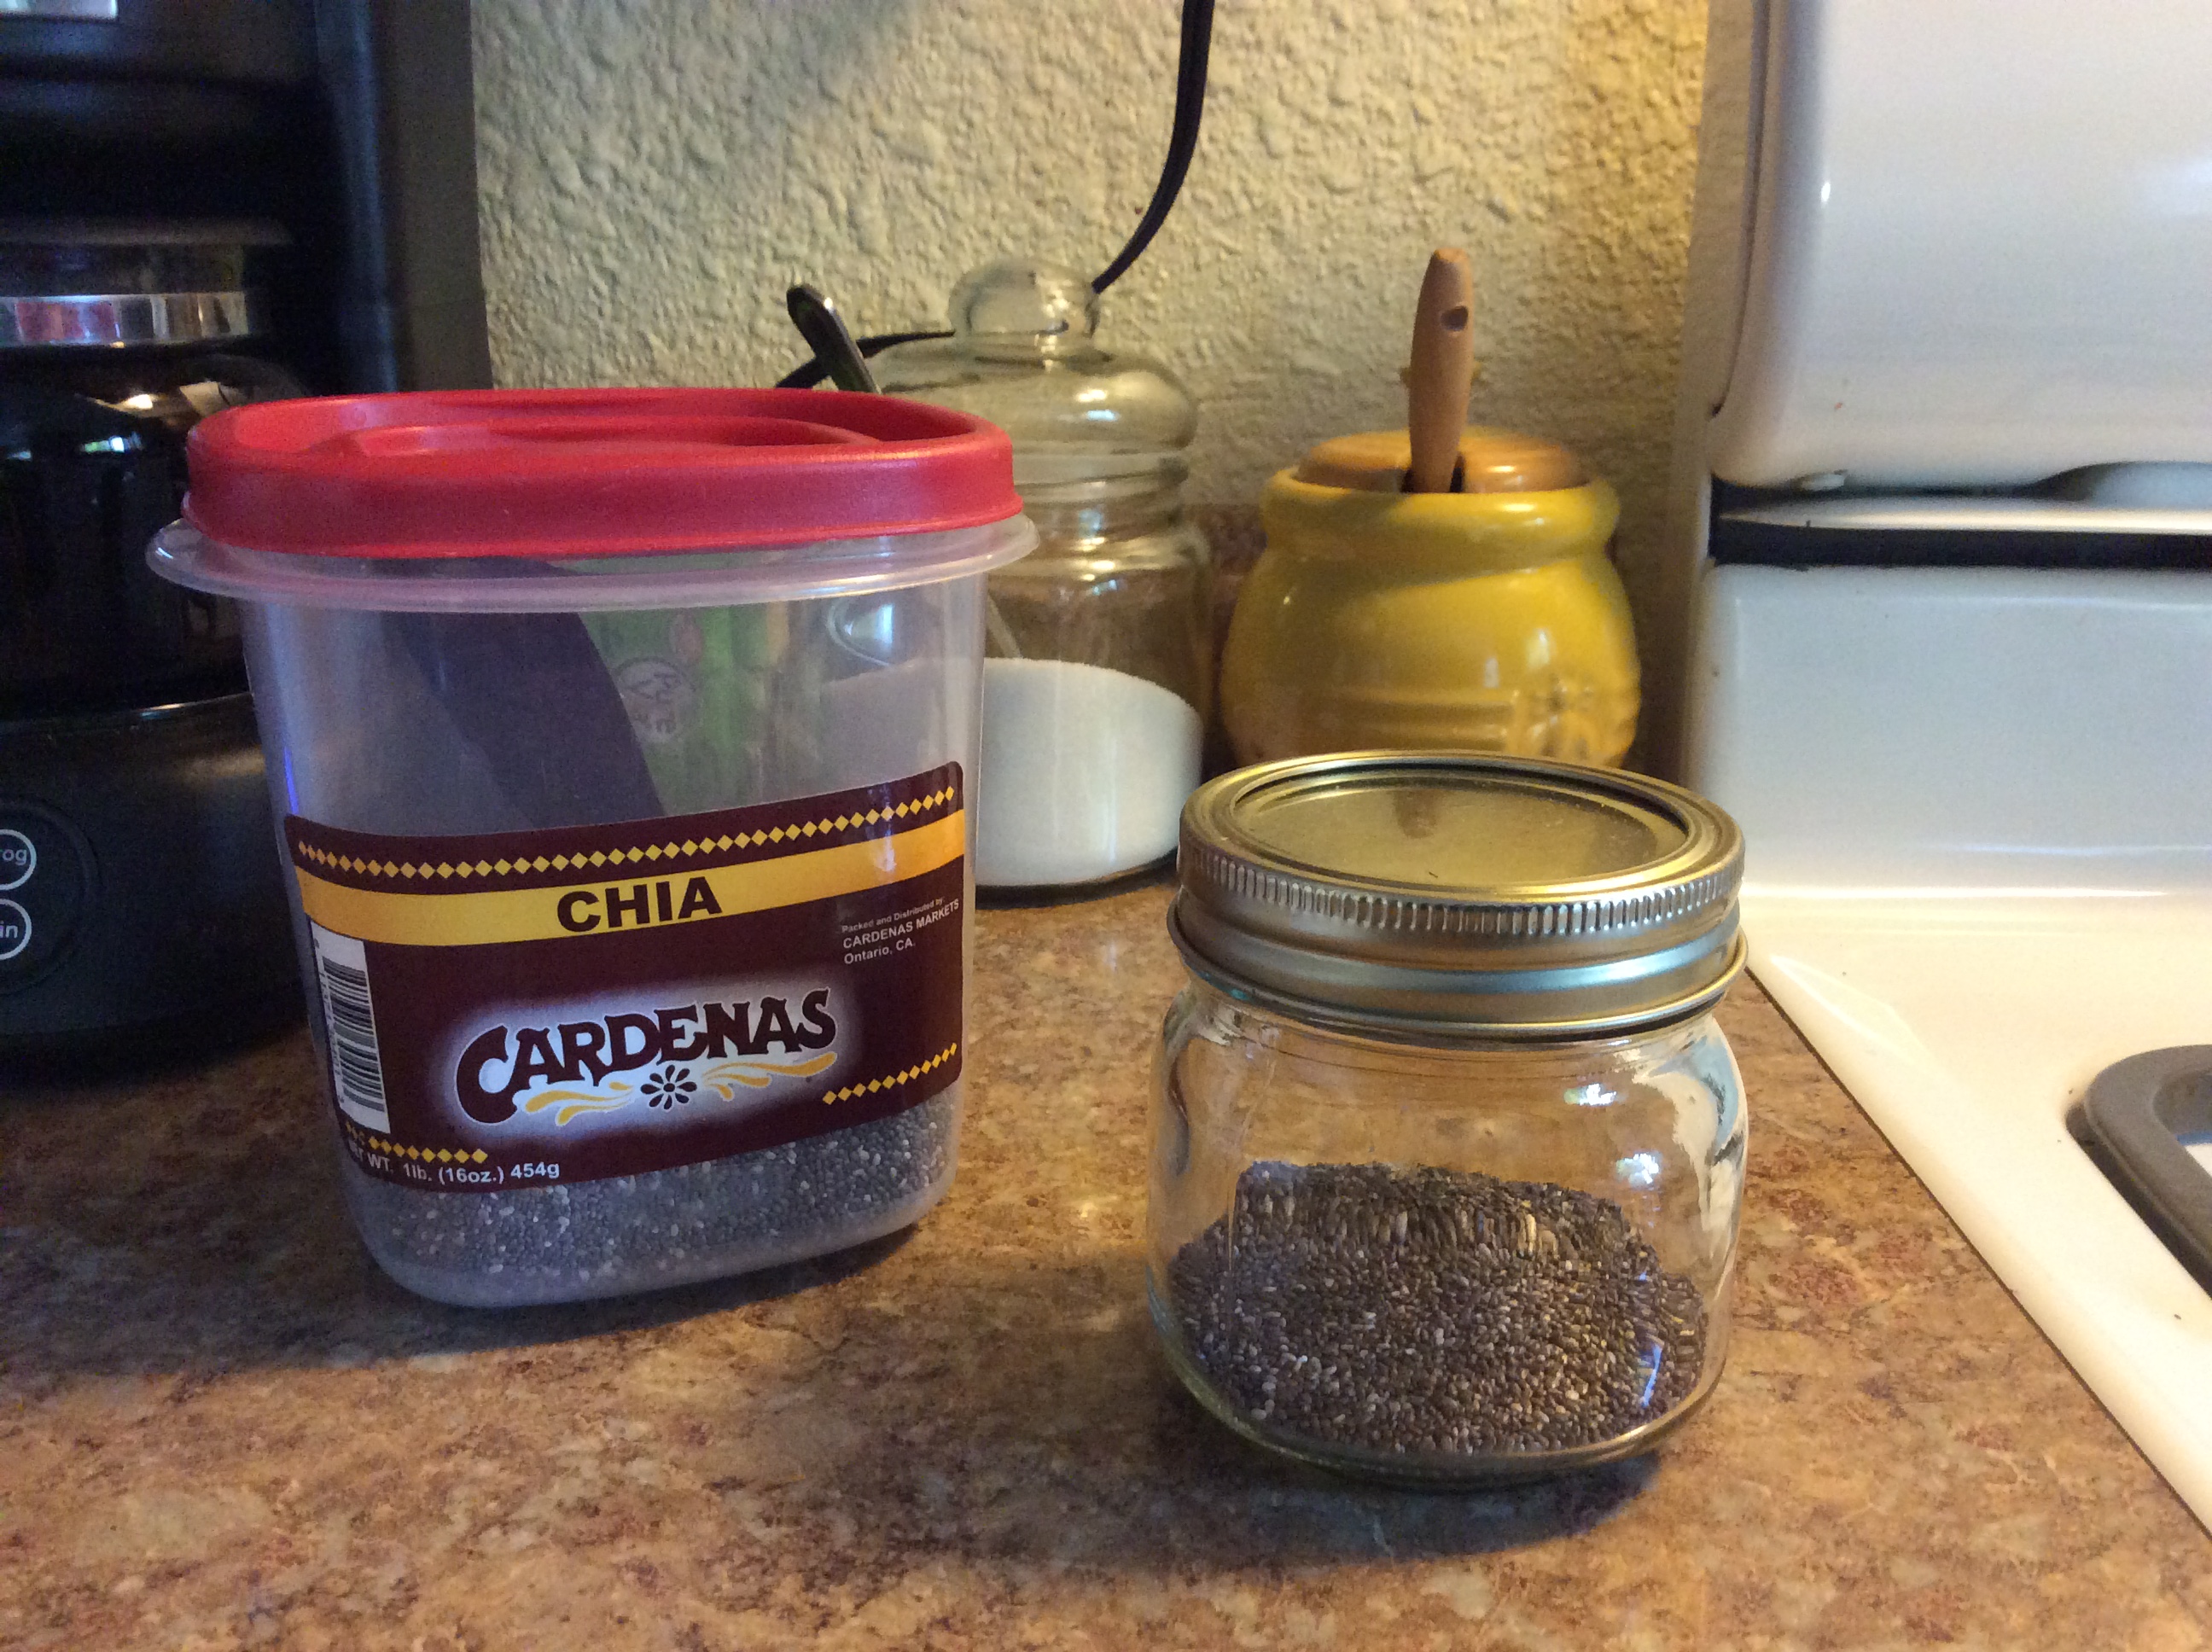
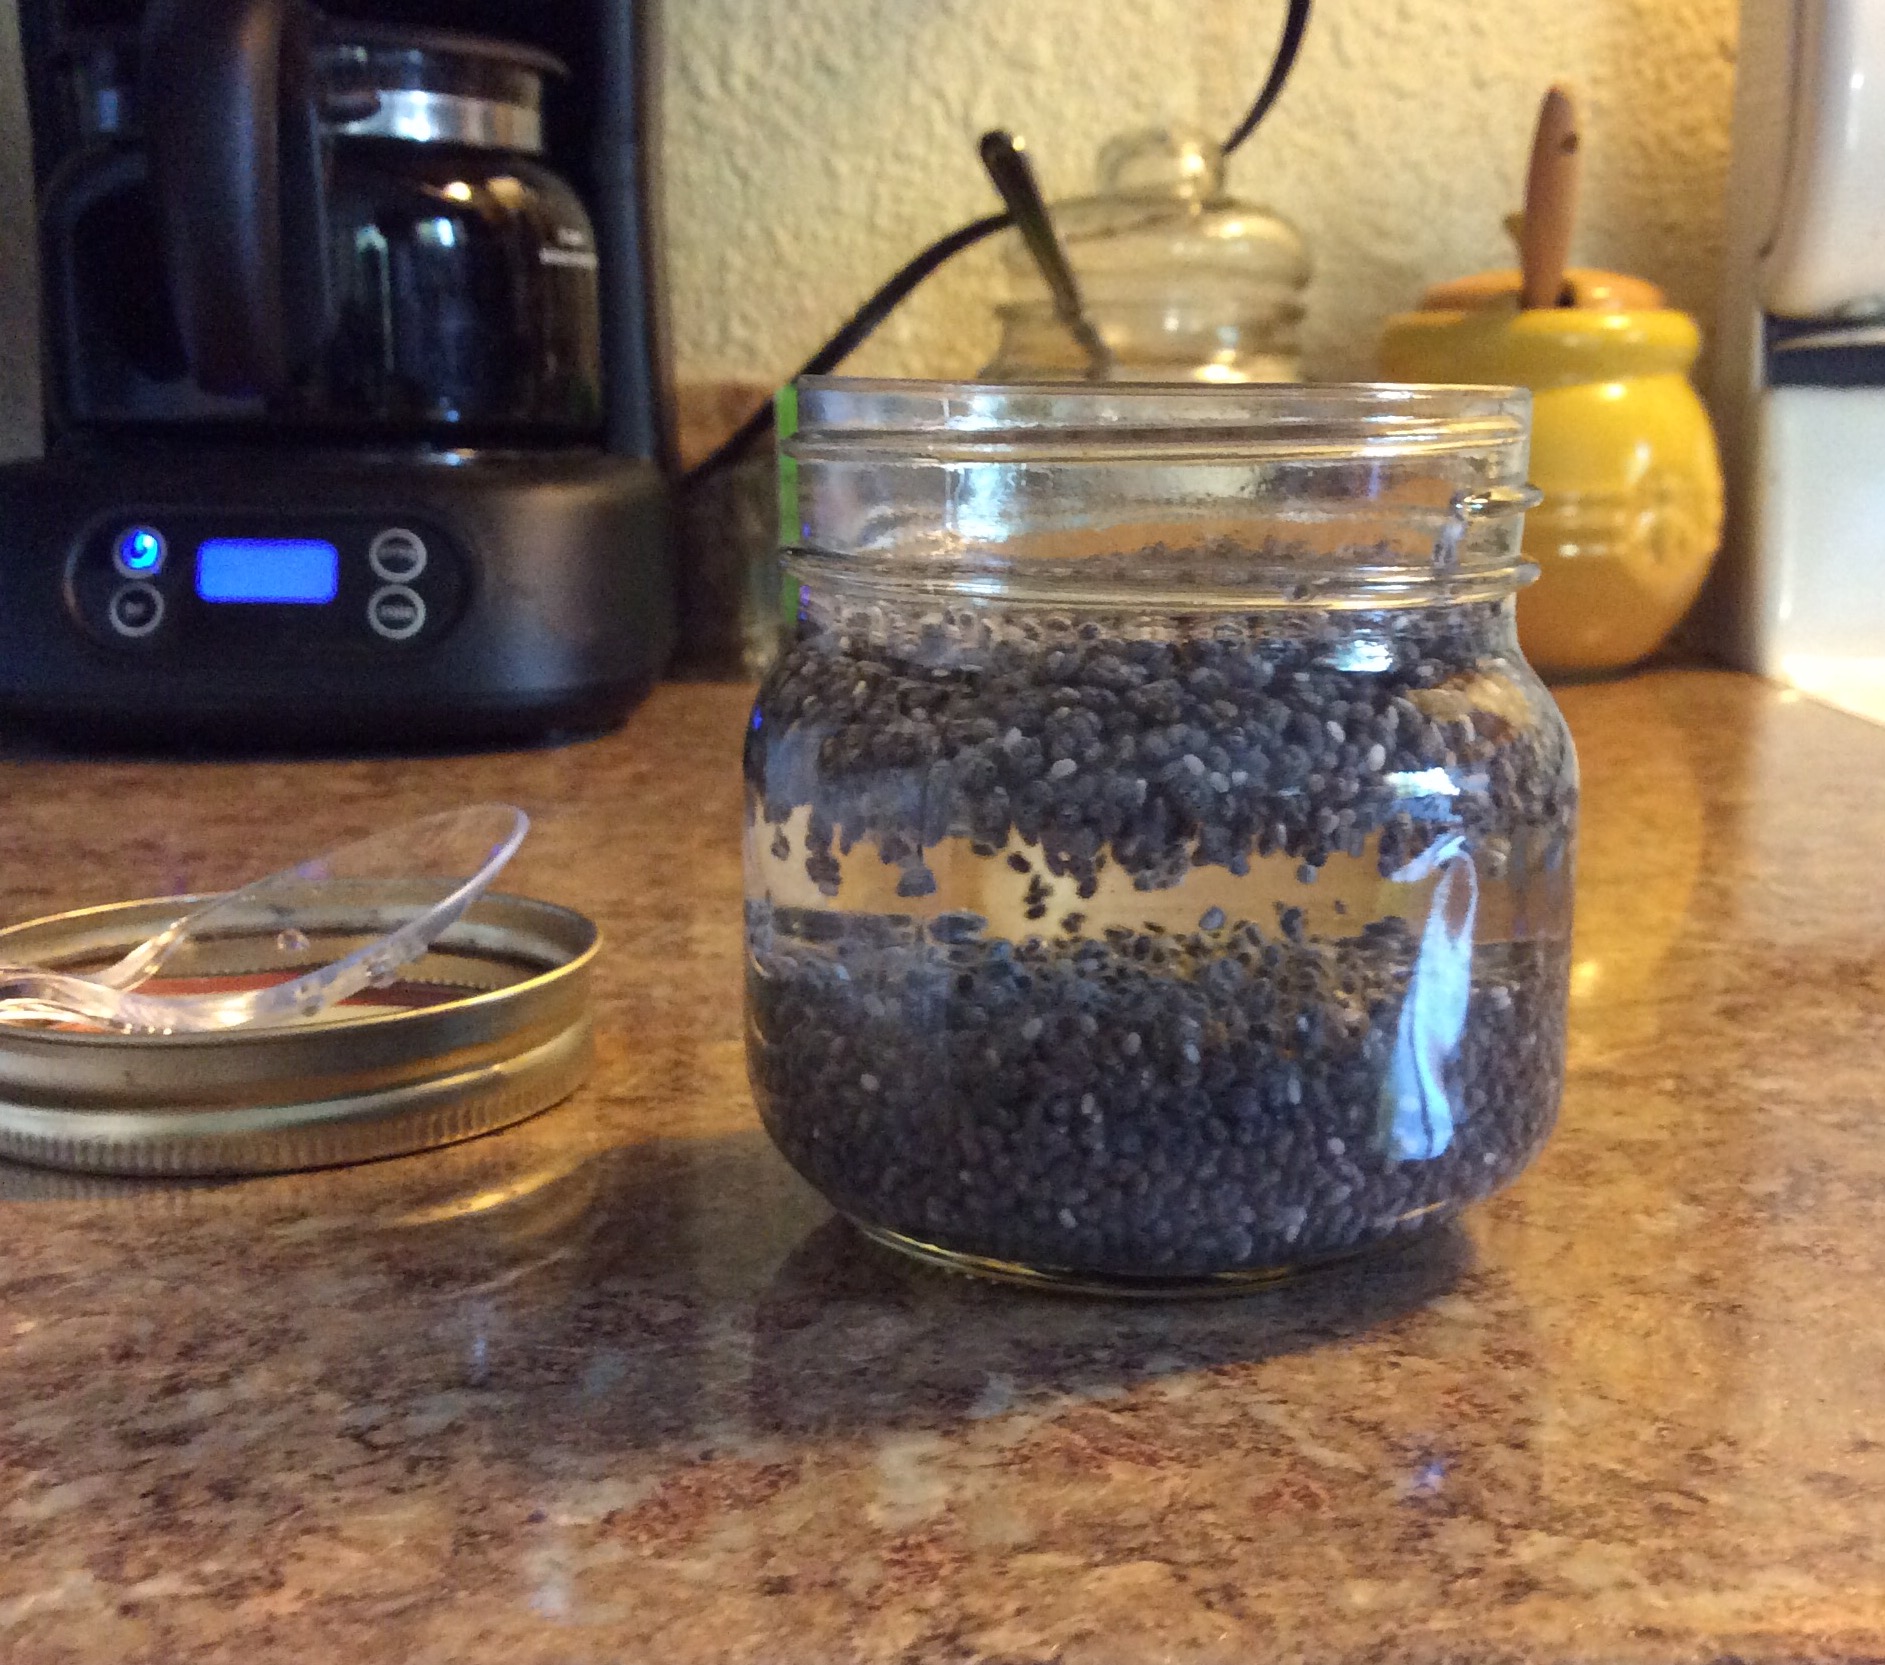
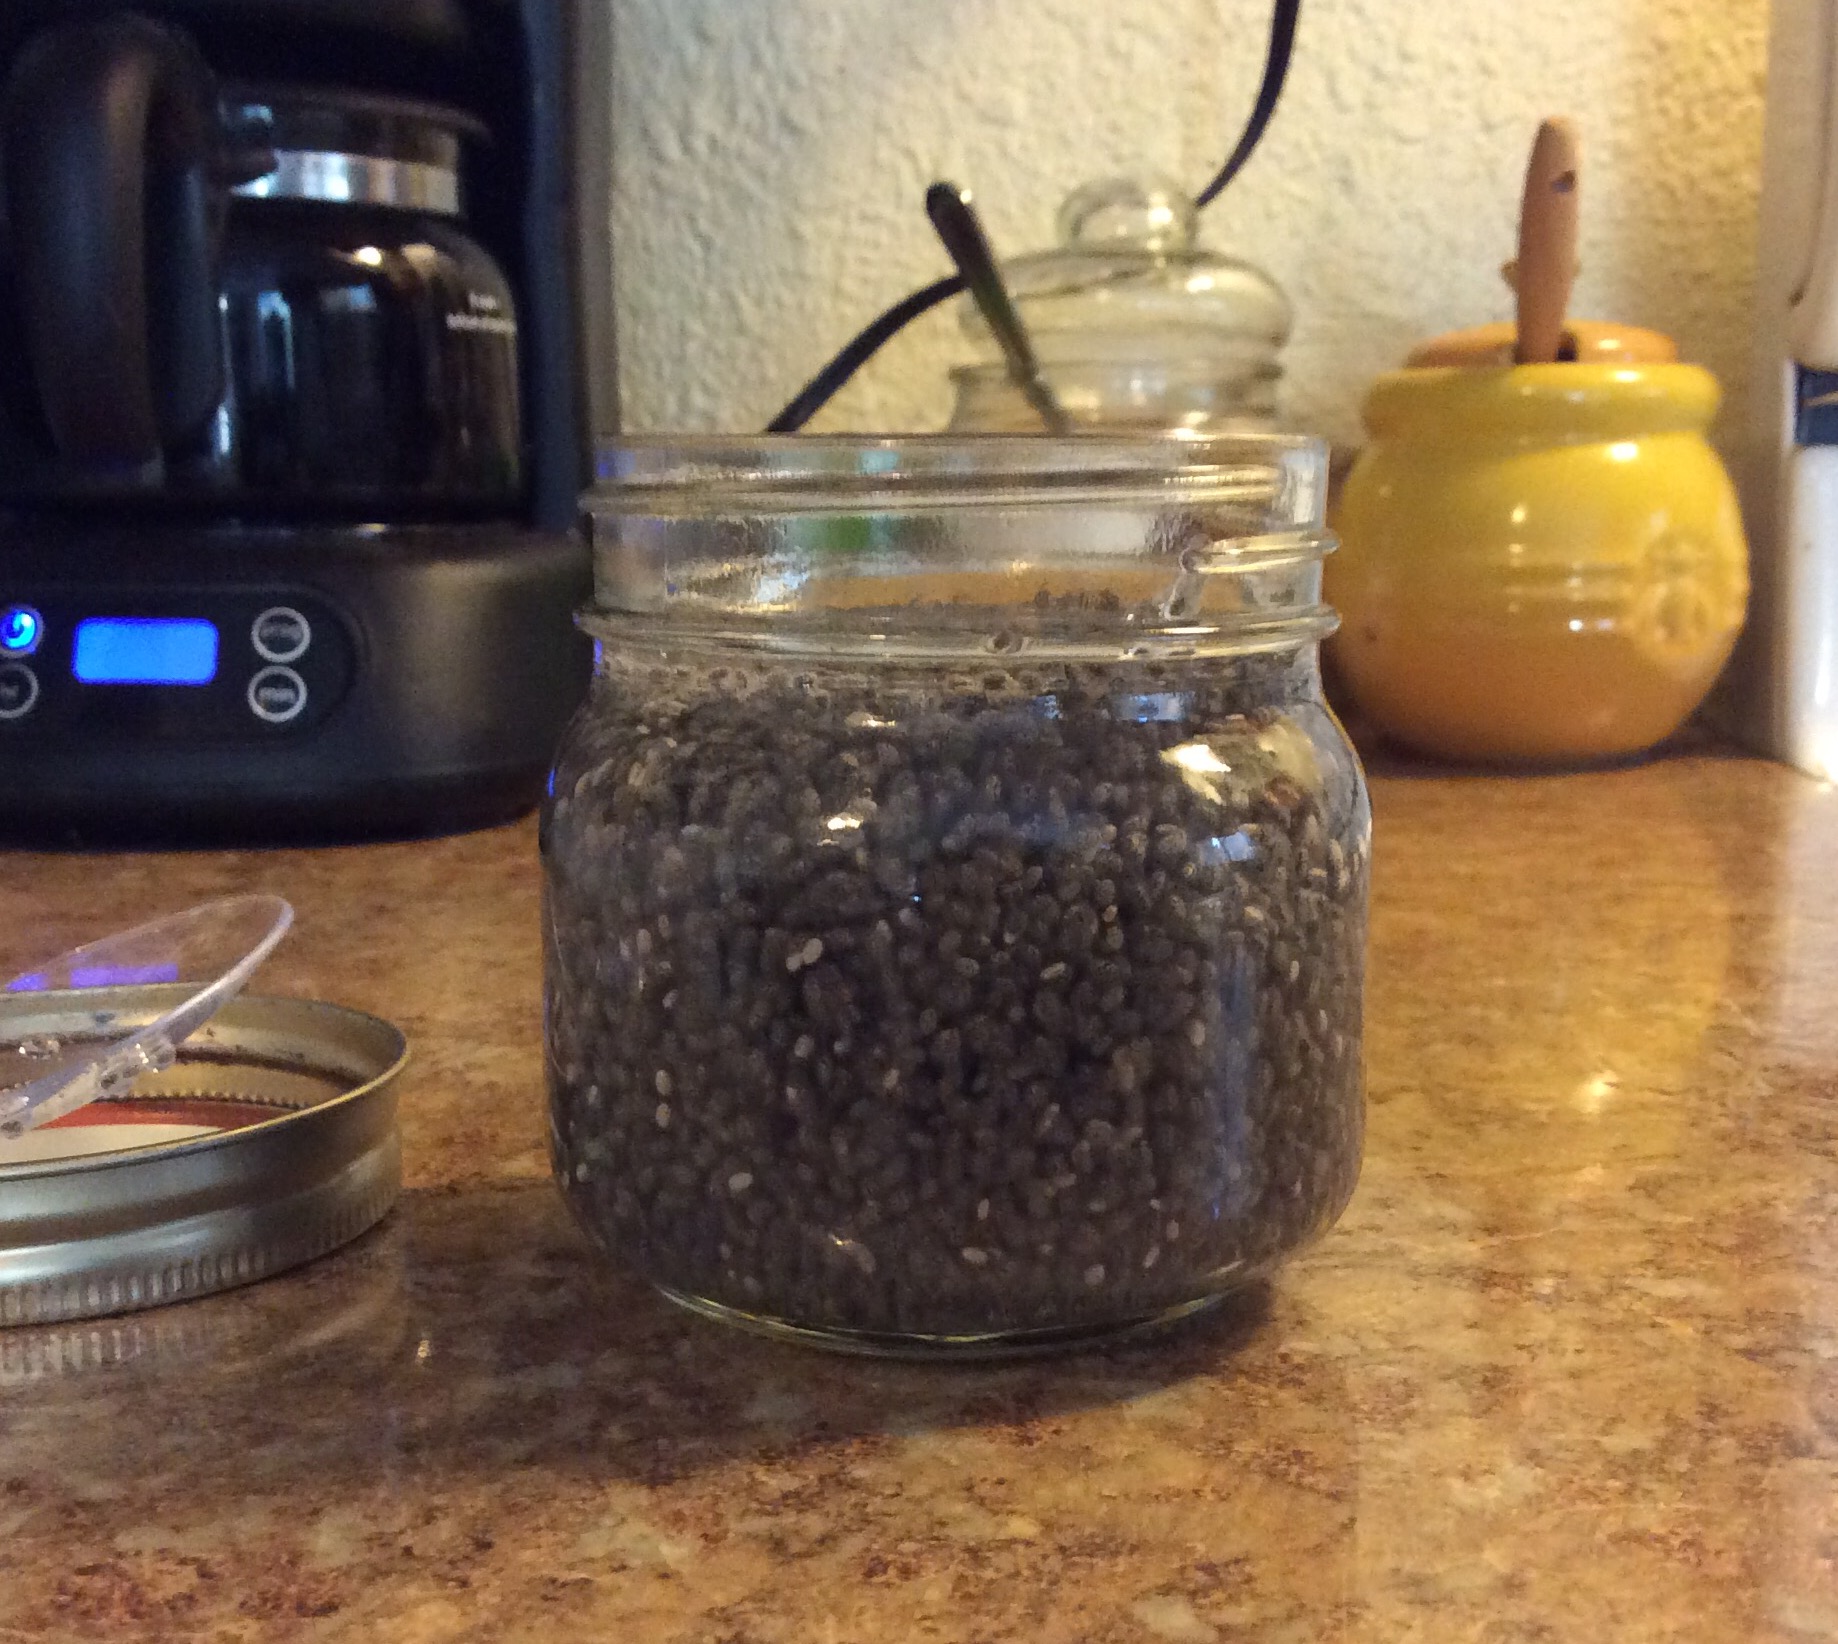
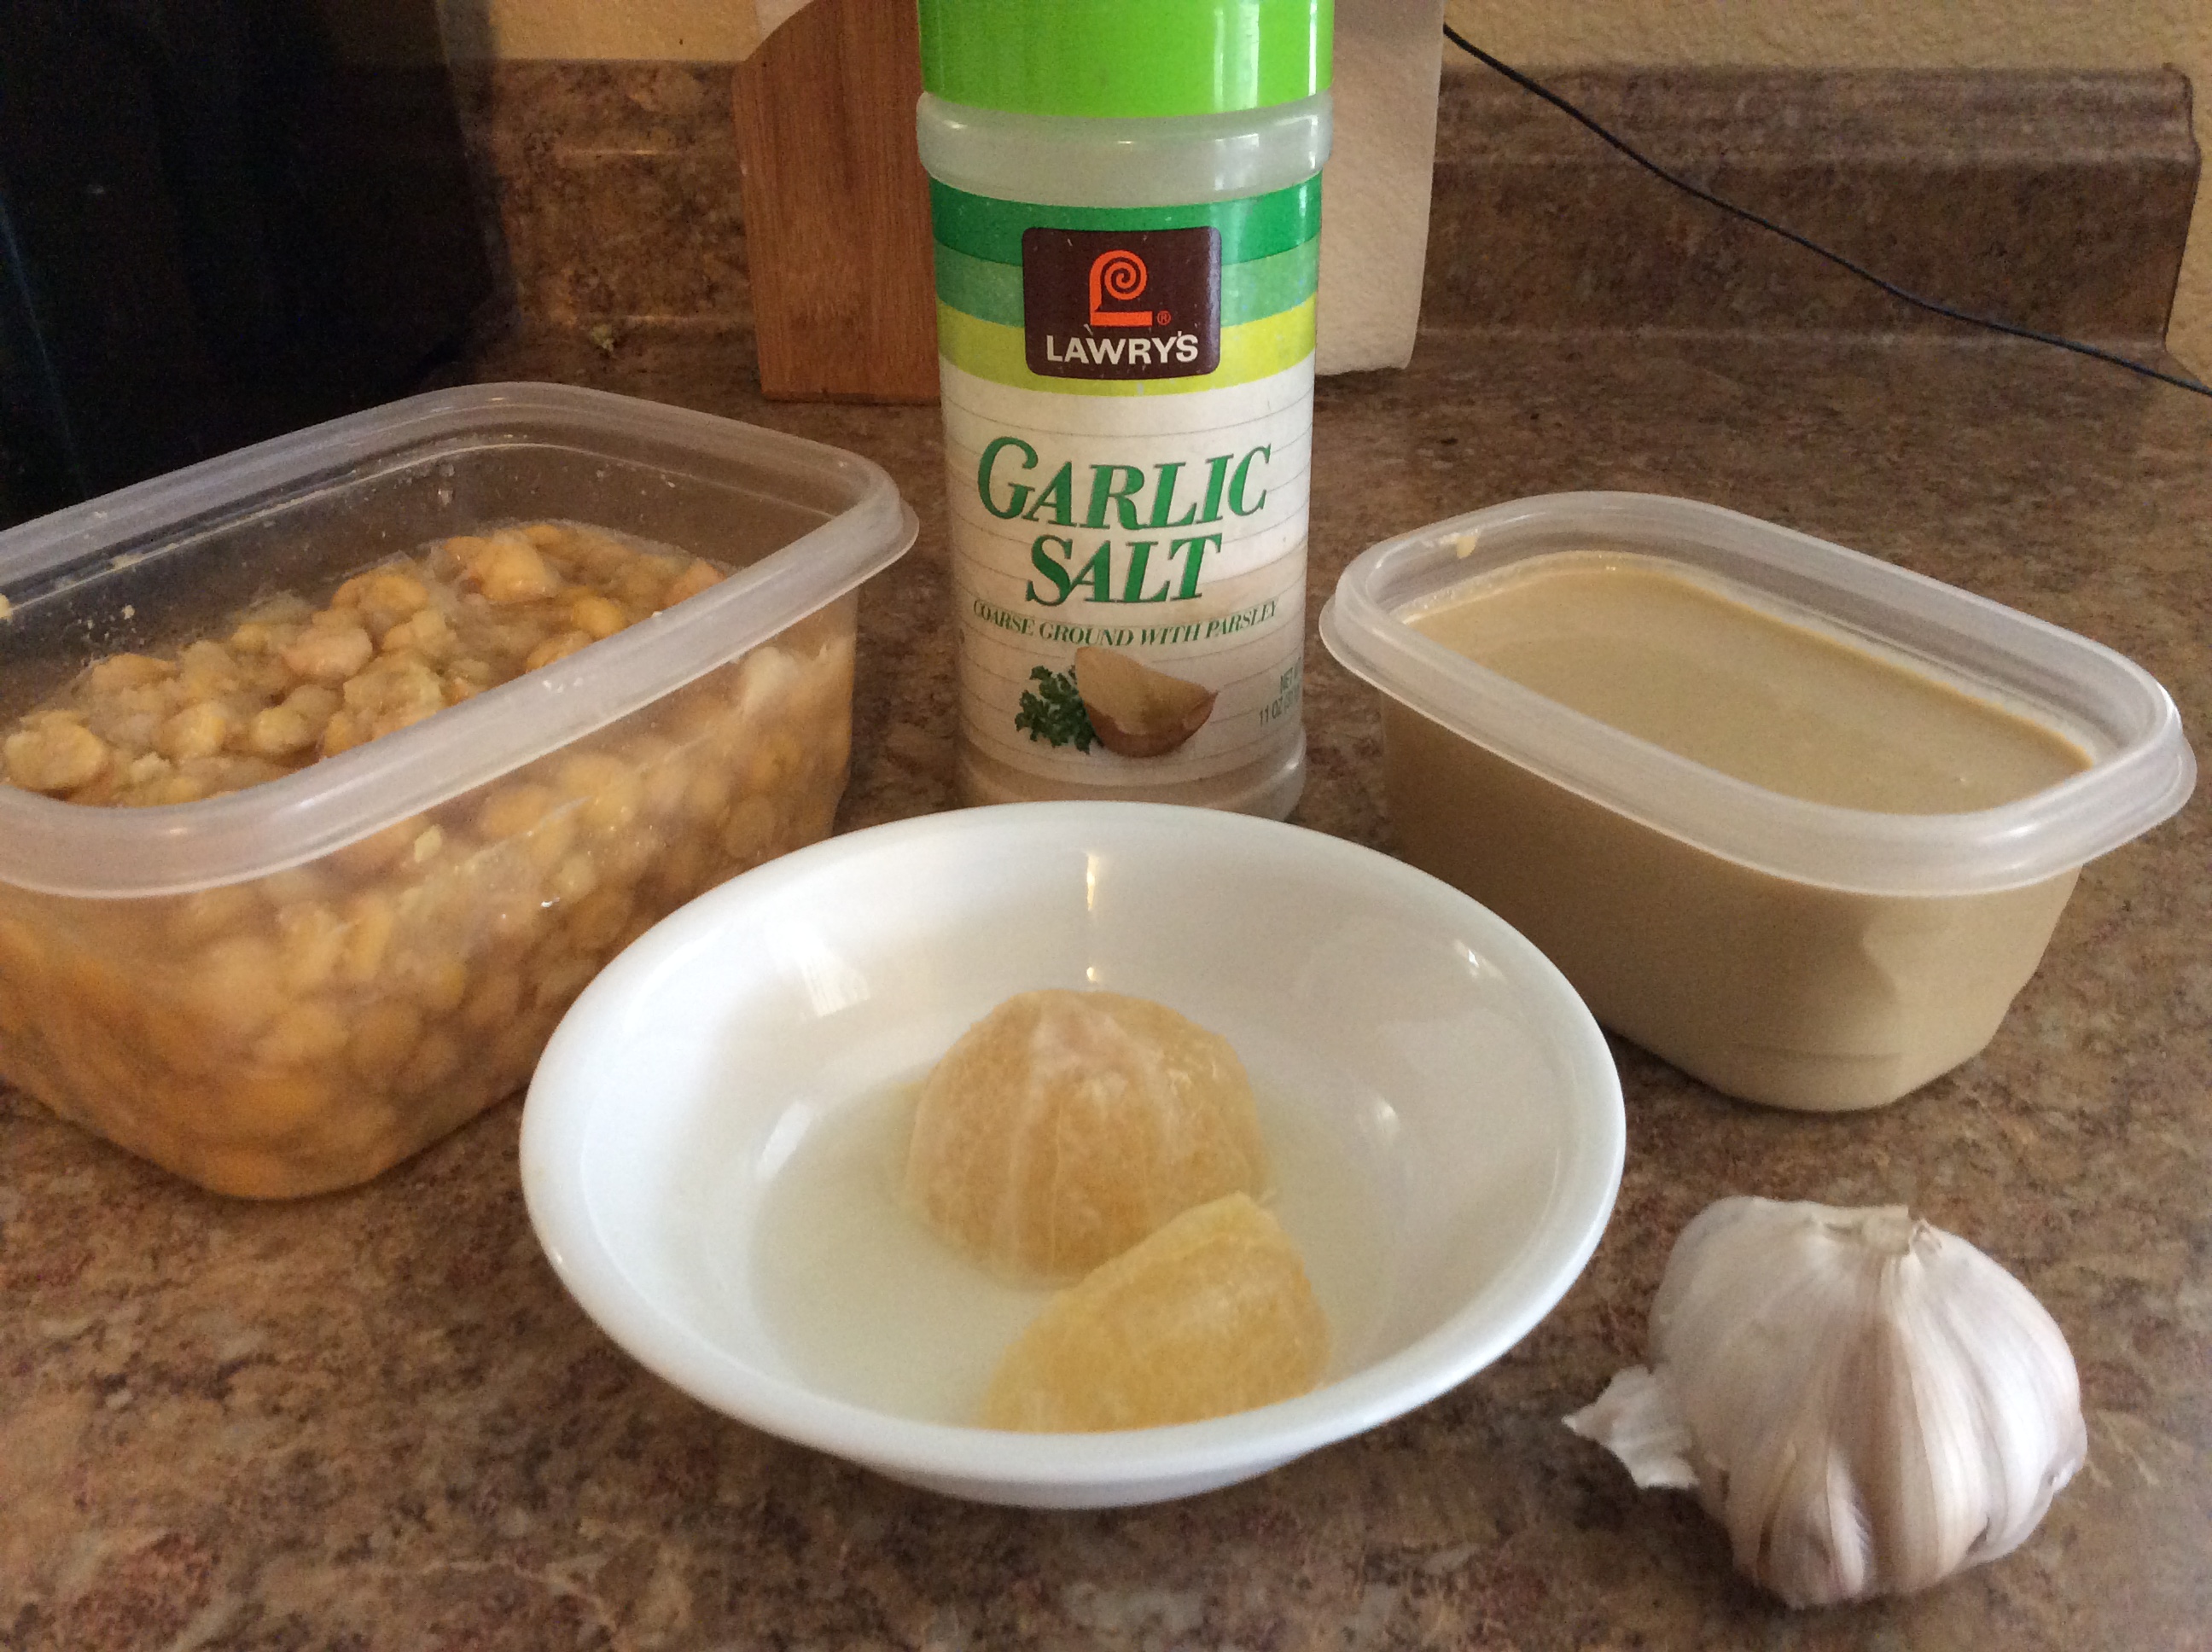
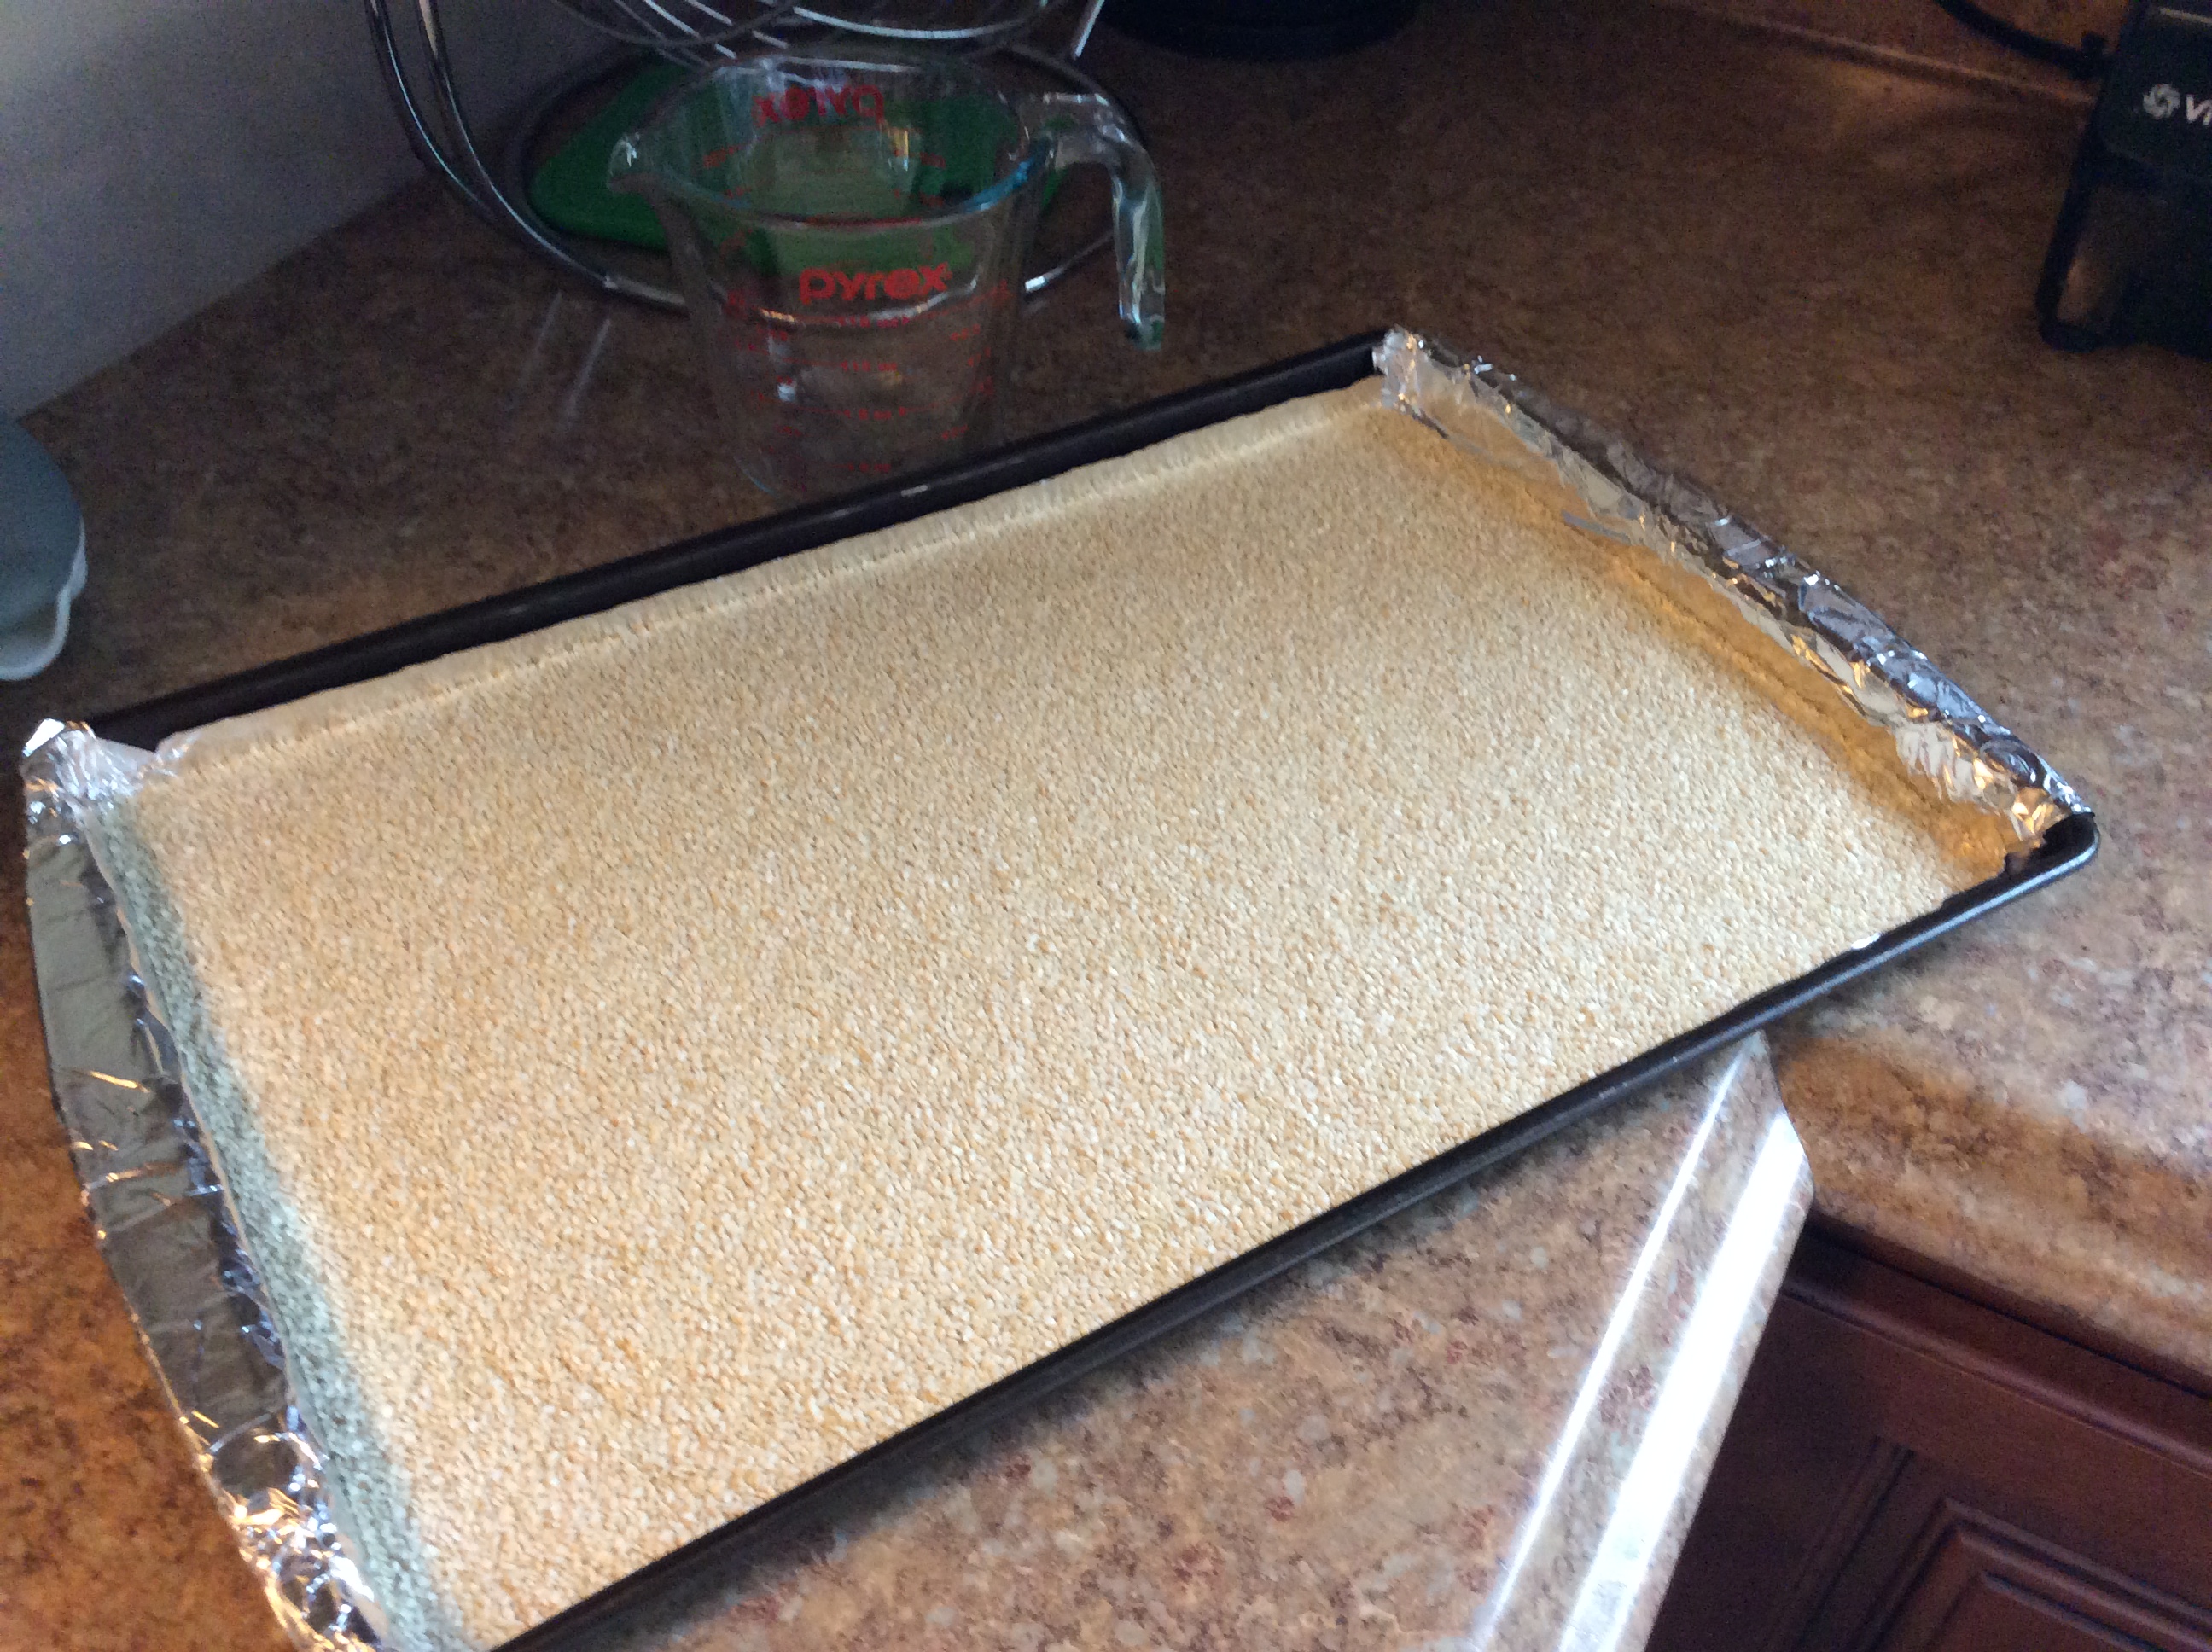
It is solid at and below room temperature so you will want to keep it somewhere that is fairly warm.  If you can’t do that, you can still use it on the plunder but you have to do step #3 until the friction in the syringe melts it.

I would love to hear what works for you.  Please leave a comment.  The more information we have the fewer, “Nooooo!” situations we will have.

Pureed Fresh Ginger

  • Difficulty: easy
  • Print

Time to toss the grater, folks!  This is the fastest and easiest way to process ginger.

Ingredients


3 cups of fresh ginger root

Directions

  1. Wash (no need to peel) and cut 2-3 cups of fresh ginger root.
  2. Place into Vitamix container and secure lid.
  3. Select Variable 1 and turn machine on.
  4. Quickly increase speed to variable 10, then High.
  5. Using the tamper, press the ginger into the blades and blend for 1-2 minutes or until completely smooth.

Food Tip:  As most of us know, ginger root makes an excellent tea and seasoning for a wide variety of dishes.  When using it in tea, make sure to stir occasionally.  Mixed in, the particles go unnoticed. But, if you leave it sitting and then drink it, you will find that the particles settle to the bottom making your last sip pretty grainy.

Time Tip: Freeze ginger puree in “mini cube” ice cube trays and store them in labeled freezer bags.  Each cube is about 1/2 teaspoon so there no guessing when it comes to measurements.  Don’t bother peeling it.  The Vitamix is powerful enough to blend the root and the skin so smooth that there are no fibrous strands in the puree.  Plan ahead and keep some on hand in the refrigerator for easy mixing.

Money Tip:  I looked up Ginger puree on line and it was going for $9 a pound.  Fresh ginger root runs about $6-7 .  Because of its strong flavor, only a small amount is needed.  Keeping it in the freezer means less waste in the refrigerator and the convenient cubes are ready when you are.

Baby Steps

Yes, even veteran tubie moms can struggle from time to time.  Matthew can’t handle large volumes because of his slow emptying issues. He is a growing teenage boy who is now more active than he’s ever been in his life. It has been quite a challenge getting him the additional calories he needs without increasing volume. Recently I had to add another carton of formula to his daily routing because his weight was dropping. I have been hesitant to try coconut oil and/or milk because of extreme food allergies in the family. For years I have been making his oatmeal with formula. Helping a transitioning little one has given me the courage to try adding 1/2 tsp of organic coconut oil in his immune system cocktail (given through the g-tube) to see how he reacts. It’s been 2 days and so far so good. If he continues to show no allergic reaction I will make his next batch with fresh coconut milk instead!

Matthew’s Green Smoothie

ATTENTION: Make sure to get clearance from your doctor before trying any blenderized diet.

My Helper
My Helper

1 cup of peppermint or chamomile tea
2 oz of Avocado
2 oz of fresh Aloe Vera (optional)
3 cups of greens
Makes 2 cups

Bolus Feeding Syringe

1. Place all ingredients into the Vitamix in the order listed and secure lid.
2. Select Variable 1.
3. Turn machine on and quickly increase speed to 10, then to High.
Blend for 1-2 minutes or until very smooth (no visible leaves).

Night Feeding Via Pump

Food Tip: When using this smoothie in the enteral feeding pump, it is vital that there are no leaf particles. Because the bag tubing, extension tubing and g-tube are all small in diameter, small bits of leaves can get caught and cause the pump to alarm and stop the feeding due to “No flow out”. Green smoothies do not work well without some type of fat in them. Outside of the health benefits, that’s why the avocado is added.Also, if formula is normally given, it is best to combine the smoothie with the formula and mix well. It has been my experience that straight green smoothies without the formula mixed in tend to separate. The pureed greens are lighter than the water so the water will go though the pump leaving the greens stuck in the feed bag.  If Aloe Vera is used it must be food grade.  Do not use fresh Aloe Vera unless you know how to properly prepare it.

Time Tip: How much smoothie to give depends on total volume and tolerance. It is best fresh within 2-3 days so I store the remaining smoothie in a container that allows me to shake it up before pouring.

Money Tip: Since they are going to be blended, buy greens in bulk and freeze any portion you do not use within 3-5 days. That way there is no waste from greens gone bad in the refrigerator.  Fresh frozen greens such as kale and spinach break up easily once frozen allowing for easy measuring and blending.

Sunrise Green Smoothie

This makes for a great eye opener but It’s refreshing any time of day.

Sunrise Green Smoothie

1 cup water

1cup romaine lettuce

1 cup fresh spinach

thin slice of fresh lemon (including the peel)

4 frozen pineapple cubes (or 4oz frozen pineapple)

2 frozen mango cubes (or 2oz frozen mango)

1 Stevia packet (or more to taste)

  1. Placed all into the Vitamix container in  the order listed and secure lid.
  2. Select Variable 1.
  3. Turn machine on and quickly increase speed to Variable 10, then to High.
  4. Blend for 1 minute or until desired consistency is reached.  Use the tamper if needed to push the ingredients into the blades.

Food Tip:  Any of your favorite greens will work in this smoothie.  Spinach and romaine lettuce are good starters for the novice green smoothie drinker because the fruit masks the taste of the greens.  As you get more accustomed to the taste, try removing the Stevia and some of the fruit.  That will retrain your palate into not always needing food to be sweet to taste good.

Time Tip:  As with my other smoothie recipes, I save time by pureeing the fruit and freezing them in ice cube trays.  No need to separate large chunks of frozen fruit. Also, I can add exactly the desired amount of fruit keeping the flavor just like I like it or give me option to change it up a bit.

Money Tip:  Buy your greens at a food warehouse such as Costco or Sam’s Club.  As soon as you open the bags, fill  gallon-sized freezer bags, label and date them, then put them straight into the freezer.  Use up the fresh greens in the refrigerator then begin using the frozen greens.  No more tossing half of your greens in the trash 3 days after you bring the home and running out to by more.  No waste ALWAYS means more money in your pocket.

Watermelon

Despite popular belief that watermelon is made up of only water and sugar, watermelon is actually considered a nutrient dense food, a food that provides a high amount of vitamins, minerals and antioxidants for a low amount of calories.
Watermelons have become synonymous with summer and picnics, and for good reason. Their refreshing quality and sweet taste help to combat the heat and also provide a guilt-free, low maintenance dessert for kids and adults alike to enjoy.
Along with cantaloupe and honeydew, watermelons are a member of the botanical family Cucurbitaceae. There are five common types of watermelon: seeded, seedless, mini (also known as personal), yellow and orange.
This MNT Knowledge Center feature is part of a collection of articles on the health benefits of popular foods. It provides a nutritional breakdown of watermelon and an in-depth look at its possible health benefits, how to incorporate more watermelon into your diet and any potential health risks of consuming watermelon.
Nutritional breakdown of watermelon

1-1244912058986lAlong with cantaloupe and honeydew, watermelons are a member of the botanical family Cucurbitaceae.
One cup of diced watermelon (152 grams) contains 43 calories, 0 grams of fat, 2 grams of sodium, 11 grams of carbohydrate (including 9 grams of sugar and 1 gram of fiber) and 1 gram of fiber. One cup of watermelon will provide 17% of vitamin A, 21% of vitamin C, 2% of iron and 1% of calcium needs for the day.
Watermelon also contains thiamin, riboflavin, niacin, vitamin B-6, folate, pantothenic acid, magnesium, phosphorus, potassium, zinc, copper, manganese, selenium, choline, lycopene and betaine. According to the National Watermelon Promotion Board, watermelon contains more lycopene than any other fruit or vegetable.
Despite being a great source of the above nutrients, watermelon is made up of 92% water.
(Excerpt taken from Medical News Today. Originally published: Sunday 10/6/13)

Chia Seeds

Most of us are very motivated to live healthier lifestyles these days and rightfully so.  With problems such as obesity, diabetes, cancer and allergies on the rise, it would be foolish not to.  We are also very quick to jump on the band wagon when some new “super food” comes along.  It’s easy to do when all we hear and read is how our food is poisoning us and making us sick.  That being said we need to “KNOW OUR SUPER FOODS!”

Today’s topic is chia seeds.  When I was growing up, they were only good for growing pets at Christmas time (Come on now, we all remember the commercials).  So when the internet and airways became abuzz with how good these tiny seeds were for you, I got interested.  I read that they were high in protein and fiber and, because I’m always looking  for new sources of plant based protein for Matthew, I was eager to try them.  There were no instructions on the bag so I just tossed some in to a batch of Matthew’s oatmeal.  When his oatmeal became extremely thick, I decided to research them further.  I found out that they absorb about 27 times their weight in water!

image1
Dry chia seeds
After 5 minutes
After 15 minutes

So what’s the big deal?  If the seeds aren’t soaked first, people like Mathew could end up with a blockage because the chia seeds adsorbed the water out of their digestive tract.  So, before you add any new food to your diet, research, research, research!  If you have health problems, talk with you doctor.

Want to know more about chia seeds?  Check out this link:

http://www.webmd.com/diet/20141021/use-chia-seeds-with-caution-researcher-warns

Hummus

Hummus

2 cups cooked chick peas (according to the package)
¼ -½ cup bean liquid
3oz (1/3 cup) tahini (see recipe)
¼ cup olive oil
¼ cup of lemon juice or a 2oz peeled section of lemon
2-3 cloves of garlic
1-3 tsp garlic salt

Hummus prep

1. Place all ingredients into the Vitamix container in the order listed and secure lid.
2. Select Variable 1.
3. Turn machine on and quickly increase speed to Variable 10, then to High.
4. Blend for 1 minute using the tamper to press the ingredients into the blades (if necessary).

Food Tip: Hummus is an Arabic word meaning chickpeas or garbanzo beans. The complete name of the prepared spread in Arabic is hummus bi tahini. So can you make hummus without tahini? Yes but, in my opinion, the flavor is lacking. Tahini is roasted sesame seeds that are blended to the consistency of creamy peanut butter. Eaten by itself, it has a rich nutty flavor. If you buy it in the jar it tends to have a bitter aftertaste. Blended with the chick peas it gives life and body to the spread. Traditionally, hummus is the consistency of yogurt but add the liquid to make it as thin or thick as you desire. Serve with fresh veggies, pita chips or as a spread for a pita sandwich or wrap.
Time Tip: 2 cups of sesame seeds makes about 1 cup of tahini. Make it in advance and keep it the refrigerator for future fresh batches. Another time saving technique is to make 3 batches (1 pound of dry beans cooked). Blend each batch individually and freeze them in various size plastic containers. After they are frozen, pop them out into a large Ziploc Freezer bags and store in the freezer for up to 6 months. That way you can defrost as little or as much as you need. Amazingly, it tastes as if it were just made after it’s been defrosted and warmed up a bit.
Money Tip: Buying dry beans is always less expensive (and tastes better) than canned beans. Making your own tahini in your Vitamix is way less expensive (and also tastes better) than buying it in a jar. Last but not least, freezing your hummus not only saves time but money. You only defrost what you plan to use in the next 3-4 days so there is none to throw away.

Tahini

Tahini

12oz (about 2 ½ cups) of raw sesame seeds
1-2 tablespoons olive oil

Tahini prep

Toasted sesame seeds: Preheat oven to 350 degrees. Place sesame seeds on a cookie sheet and bake for 5-10 minutes stirring often. Cool for 15 minutes.

Toasted sesame seeds

1. Place sesame seeds into the Vitamix container and secure lid.
2. Select variable 1.
3. T urn machine on and quickly increase speed to Variable10, then high.
4. Blend for 1 minute using the tamper to press the mixture into the blades.
5. Remove the lid plug and add olive oil 1 tablespoon at a time until the mixture is smooth and has the consistency of a thick liquid.

Food Tip: Be sure not to overcook the seeds because the tahini will taste burnt. They will not be brown when they are done. You will barely see a color change.

Time Tip: Use foil on your cookie sheet. Once the seeds are cooled you can lift the sides of the foil and form a tube. Lift the foil and pour directly into the Vitamix container. I have tried pouring the seeds into the container directly from the cookie sheet only to have lots of them all over my counter. Using a spoon takes a long time because the seeds are so small and smooth.

Money Tip: Sesame seeds bought in bulk costs about $1/lb. One 16oz jar of tahini can cost anywhere from $6 to $12!